How To Build A Wooden Mailbox
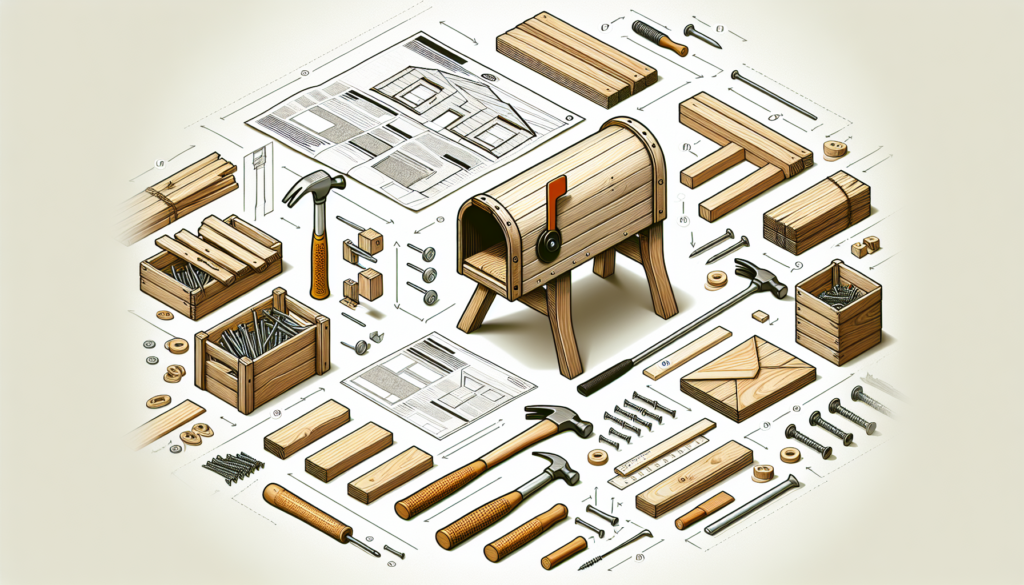
So you’ve decided to take on the challenge of building your own wooden mailbox? Well, you’re in for a fun and fulfilling DIY project! In this article, we’ll guide you through the step-by-step process of constructing a sturdy and stylish wooden mailbox that will enhance the curb appeal of your home. From choosing the right materials to adding those finishing touches, we’ve got you covered. Get ready to showcase your woodworking skills and create a mailbox that not only serves its purpose but also adds a touch of personality to your front yard. Let’s get started!
Choosing the Right Wood
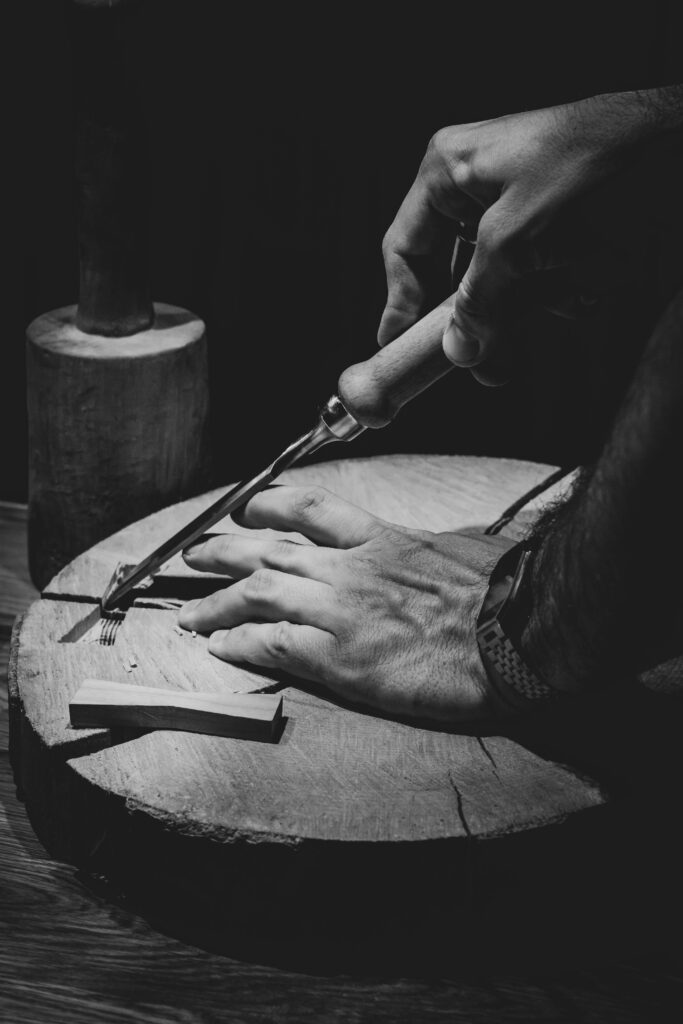
When it comes to building a wooden mailbox, choosing the right type of wood is crucial. You want a wood that is durable, weather-resistant, and naturally resistant to insects and decay. These qualities will not only ensure the longevity of your mailbox but also minimize the need for frequent repairs or replacements.
Consider the Durability of the Wood
Durability is essential when selecting the wood for your mailbox. You want a wood that can withstand various weather conditions, from scorching sun to heavy rain or even snow. Some of the most durable woods for outdoor projects include cedar, redwood, and teak. These woods are known for their natural resistance to rotting and warping, making them ideal choices for a long-lasting wooden mailbox.
Select a Weather-Resistant Wood
In addition to durability, it is essential to choose a wood that is well-suited for outdoor use. Look for wood species that have natural weather-resistant properties. Cedar, for example, contains natural oils that make it highly resistant to moisture and decay. Redwood is another excellent option, as it has natural tannins that protect it against moisture and insect damage.
Choose a Wood with Natural Resistance to Insects and Decay
To ensure that your mailbox stands the test of time, it is important to select a wood that is naturally resistant to insects and decay. Cedar and redwood, mentioned earlier, are excellent choices in this regard. These woods contain natural oils and chemicals that repel insects and discourage rotting. Teak is also worth considering, as it possesses natural oils that make it resistant to insect infestations and decay.
By choosing the right wood for your mailbox, you can ensure its durability, weather-resistance, and protection against insects and decay.
Gathering the Necessary Tools and Materials
Before you can start building your wooden mailbox, it is important to gather all the necessary tools and materials. Having everything prepared will make the construction process smoother and more efficient. Here is a list of the tools and materials you will need:
Tools Required
- Tape measure
- Saw (hand saw or power saw)
- Drill with appropriate drill bits
- Screwdriver or power screwdriver
- Sandpaper or sanding block
- Paintbrush or staining applicator
- Safety equipment (goggles, gloves, dust mask)
Materials Required
- Wood boards (according to your chosen design and dimensions)
- Wood screws or nails
- Wood glue
- Stain or paint for finishing
- Protective coating (polyurethane or outdoor varnish)
- Mounting post
- Mailbox hardware (backplate, flag, latch)
- Optional decorative elements (house numbers, mailbox topper, etc.)
To ensure a successful build, make sure to have all the necessary tools and materials on hand before you begin. This will save you time and prevent any interruptions during the construction process.
Optional Decorative Elements to Consider
While a wooden mailbox is functional, adding some decorative elements can enhance its appearance and make it stand out. Consider incorporating optional elements such as house numbers, a decorative mailbox topper, or even a customized sign with your family name. These touches can add a personal and unique flair to your mailbox, making it a focal point of your home’s exterior.
Designing Your Mailbox
Designing your wooden mailbox is an exciting step in the process. It allows you to envision the final product and create a mailbox that reflects your personal style and preferences. Here are some key considerations when designing your mailbox:
Decide on the Size and Shape
The size and shape of your mailbox will depend on your specific needs, personal preferences, and the space available for installation. Consider factors such as the volume of mail you receive, the size of packages you typically receive, and any local regulations or guidelines that may dictate mailbox dimensions. Take these factors into account to determine the appropriate size and shape for your mailbox.
Sketch a Blueprint
Once you have determined the size and shape of your mailbox, sketching a blueprint will help you visualize the construction process and ensure accurate measurements. Include details such as the dimensions of each wood piece, the placement of screws or nails, and any additional features or accessories you plan to incorporate. A blueprint will serve as your guide throughout the construction process.
Consider Additional Features or Accessories
While a basic wooden mailbox is functional, you may want to consider additional features or accessories to enhance its usability and aesthetics. Some popular options include a flag to indicate outgoing mail, a backplate for added stability, and a latch for securing the front panel. Incorporating these features into your design will make your mailbox more convenient and efficient.
By carefully considering the size, shape, and additional features of your mailbox, you can ensure that your design meets your specific needs and preferences.
Preparing the Wood
Before you begin assembling your mailbox, it is important to prepare the wood. Proper preparation ensures smooth edges, precise cuts, and reduces the risk of splinters. Here are the steps to prepare the wood for your wooden mailbox:
Measure and Cut the Wood Pieces
Using your blueprint as a guide, measure and mark the dimensions of each wood piece. Double-check your measurements to ensure accuracy. Once marked, use a saw to make the necessary cuts. For straight cuts, a power saw is recommended for efficiency and precision. However, a hand saw can also be used if you prefer a more hands-on approach.
Smooth the Edges and Surfaces
After cutting the wood pieces, use sandpaper or a sanding block to smooth the edges and surfaces. This will remove any roughness or splinters, creating a finished look and making the mailbox safe to handle. Start with a coarse-grit sandpaper, then gradually work your way up to a finer grit for a smoother finish.
Drill or Cut Holes for Mounting
Depending on the design of your mailbox, you may need to drill or cut holes to facilitate mounting. Measure and mark the appropriate locations for the holes and use a drill with the appropriate drill bit to create them. If necessary, use a jigsaw or another cutting tool to create larger openings, such as for the mailbox slot or hardware installation.
By properly preparing the wood, you ensure that your mailbox will have precise cuts, smooth edges, and be ready for assembly.
Assembling the Mailbox
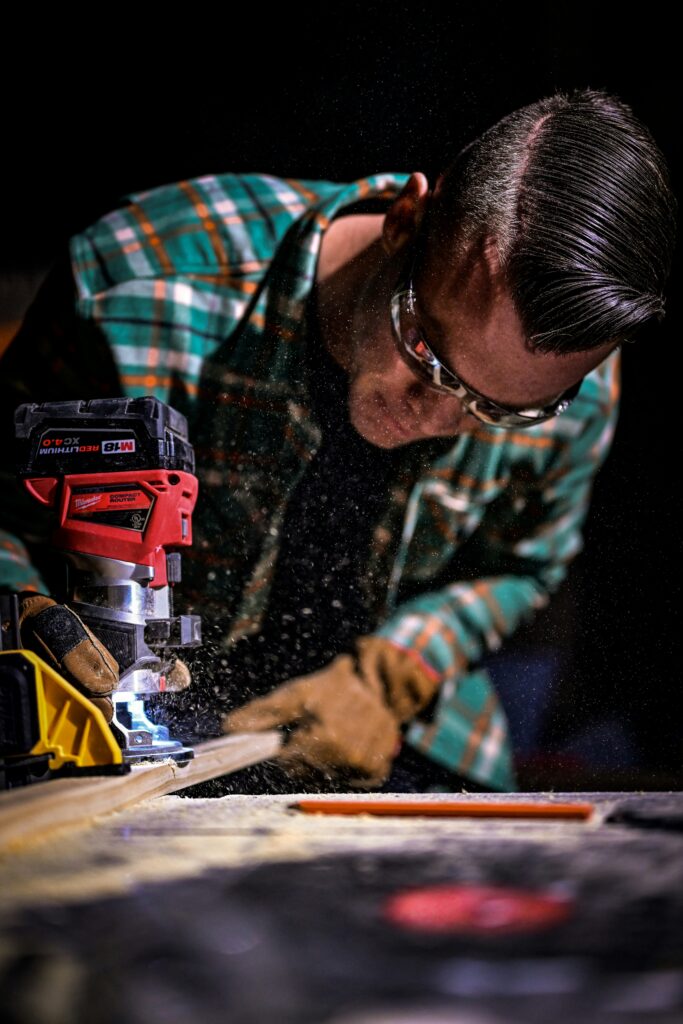
With the wood prepared, it’s time to start assembling your mailbox. Follow these steps to ensure a successful assembly:
Attach the Bottom and Side Panels
Start by attaching the bottom panel to the side panels. Apply a thin layer of wood glue along the edges of the bottom panel, then secure the side panels to it using wood screws or nails. This forms the basic structure of the mailbox. Use a level to ensure that the sides are straight and aligned properly.
Install the Back and Front Panels
Next, install the back panel by applying wood glue along its edges, then attaching it to the side panels with screws or nails. Ensure that the back panel is securely fastened and flush with the sides. Finally, install the front panel, leaving space for the mailbox slot and any additional features or accessories.
Secure the Roof or Top Cover
If your design includes a roof or top cover, now is the time to secure it in place. Apply wood glue along the edges of the roof or cover, then attach it to the top of the mailbox using screws or nails. This will protect the contents of the mailbox from the elements.
By following these assembly steps, you can create a sturdy and functional wooden mailbox.
Adding Finishing Touches
After assembling the mailbox, it’s time to add the finishing touches that will bring your project to life. Here are the steps to consider:
Sand and Stain the Wood
Start by sanding the entire mailbox to smooth out any rough surfaces or imperfections. Use finer grit sandpaper for a smoother finish. Once sanded, apply a stain of your choice to enhance the natural beauty of the wood. Follow the manufacturer’s instructions for application and drying times.
Apply a Protective Finish
To protect the wood from the elements and ensure its longevity, apply a protective finish such as polyurethane or outdoor varnish. Use a paintbrush or staining applicator to evenly coat the entire mailbox, including all exposed surfaces. This will create a barrier against moisture, UV damage, and insects, extending the life of your mailbox.
Consider Decorative Elements
If you wish to further personalize your mailbox, consider adding decorative elements. This can include attaching house numbers, a decorative mailbox topper, or any other embellishments that align with your personal style. Ensure that these elements are securely fastened to the mailbox to withstand outdoor conditions.
By adding these finishing touches, you can transform your wooden mailbox into a visually appealing and protected piece.
Installing the Mailbox
With your wooden mailbox fully constructed and finished, it’s time to install it. Follow these steps to ensure a secure and functional installation:
Choose a Suitable Location
Select a suitable location on your property for mounting the mailbox. Consider factors such as accessibility for mail carriers, visibility from the road, and any local regulations or guidelines regarding mailbox placement. Ensure that the location provides a solid foundation for the mailbox and will not obstruct pedestrian or vehicular traffic.
Prepare the Mounting Post
If your mailbox design includes a separate mounting post, ensure it is properly installed. Dig a hole according to the specifications for the post, ensuring it is deep enough to create a stable foundation. Insert the post into the hole and fill it with concrete or sturdy soil. Allow the concrete to dry or the soil to settle before proceeding.
Attach the Mailbox to the Post
Once the post is secured, attach the wooden mailbox to it using screws or appropriate mounting hardware. Ensure that the mailbox is level and securely fastened to the post. Double-check that the mailbox is at the appropriate height and distance from the road, as per local regulations.
By properly installing your wooden mailbox, you can ensure its stability and functionality for years to come.
Maintaining the Wooden Mailbox
To keep your wooden mailbox in optimal condition, regular maintenance is required. Here are some essential maintenance tasks to perform:
Regularly Inspect and Clean the Mailbox
Inspect your mailbox regularly for any signs of damage, such as cracked wood, loose screws, or fading finish. Clean the mailbox periodically by wiping it down with a mild soap and water solution. This will remove dirt, dust, and any other debris that may accumulate over time.
Perform Necessary Repairs
If any damage is identified during inspections, promptly perform the necessary repairs. This may include replacing cracked wood pieces, tightening loose screws, or refinishing the mailbox if the protective finish becomes worn or damaged. By addressing issues promptly, you prevent further damage and extend the life of your mailbox.
Apply Protective Coatings as Needed
Over time, the protective finish on your mailbox may wear off due to exposure to the elements. It is important to periodically reapply protective coatings such as polyurethane or outdoor varnish to maintain the wood’s resistance to moisture, UV damage, and insects. Follow the manufacturer’s instructions for application and drying times.
By consistently maintaining your wooden mailbox, you can ensure its durability, longevity, and continued aesthetic appeal.
Safety Considerations
Throughout the process of building your wooden mailbox, it is important to prioritize safety. Here are some safety considerations to keep in mind:
Wear Safety Equipment
When using tools and handling materials, always wear appropriate safety equipment. This includes goggles to protect your eyes from flying debris, gloves to protect your hands, and a dust mask to prevent inhaling sawdust or other particles. Safety should always be a priority to prevent accidents or injuries.
Handle Tools and Materials with Care
Always handle tools and materials with care, following proper instructions and guidelines. Use caution when operating power tools and avoid rushing the construction process. Keep sharp objects away from children and pets to prevent accidents.
Work in a Well-Ventilated Area
To ensure good air circulation and minimize exposure to potentially harmful fumes from stains, finishes, or glues, work in a well-ventilated area. If working outdoors, ensure there is sufficient airflow. If working indoors, open windows or use fans to ensure proper ventilation.
By prioritizing safety throughout the construction process, you can minimize the risk of accidents and create a safe environment for yourself and others.
Conclusion
Congratulations on building your handcrafted wooden mailbox! By following the steps outlined in this article, you have successfully designed, constructed, and installed a functional and visually appealing mailbox. Your mailbox reflects your personal style and preferences while providing a lasting impression to all who pass by. Enjoy the convenience and satisfaction of having a customized mailbox that showcases your creativity and craftsmanship. Remember to regularly maintain and care for your mailbox to ensure its longevity and continued enjoyment.
