If you have ever admired the beauty and craftsmanship of a wooden chessboard and wondered how it is made, you have come to the right place. Making a wooden chessboard may seem like a daunting task, but with a little patience and precision, you can create a stunning piece of art that will be cherished for years to come. In this article, we will guide you through the step-by-step process of creating your very own wooden chessboard, from selecting the right materials to assembling the final product. So grab your tools and let’s embark on this exciting woodworking journey together!
Materials and Tools
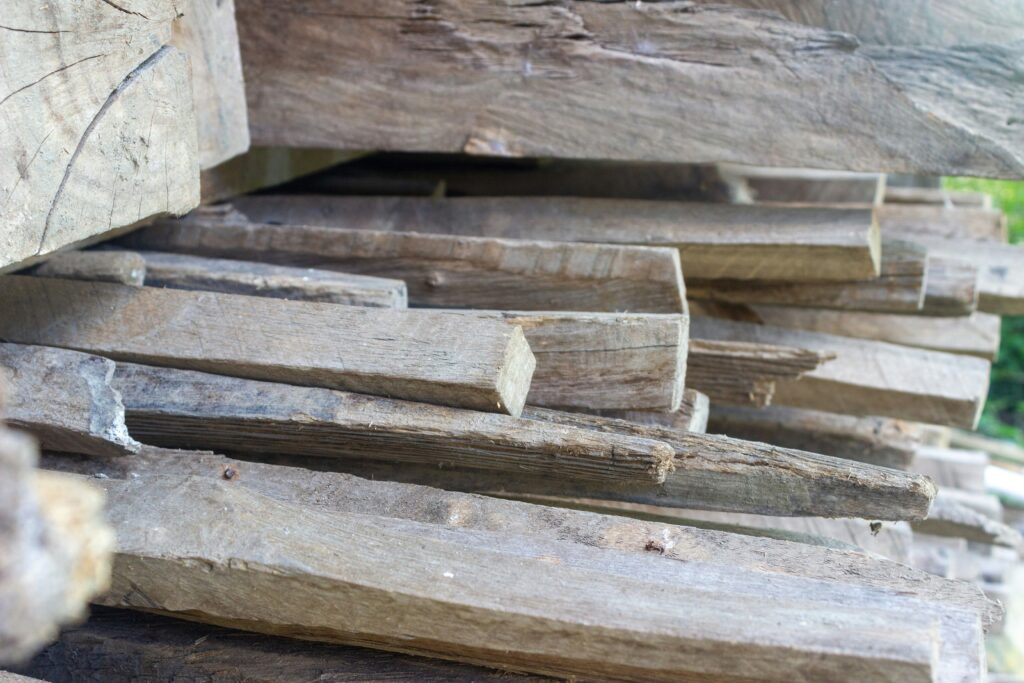
To make a wooden chessboard, you will need a few materials and tools. Let’s start with choosing the wood. Selecting the right type of wood is crucial for both the aesthetics and durability of your chessboard. Hardwoods like maple, walnut, or cherry are popular choices due to their strength and attractive grain patterns. Ensure that the wood is of good quality and free from any defects or warping.
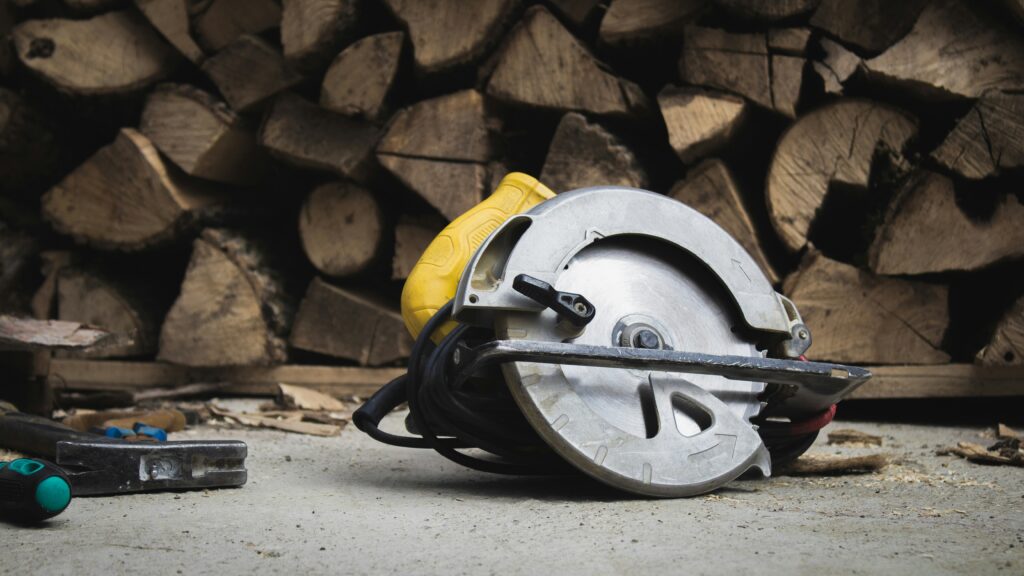
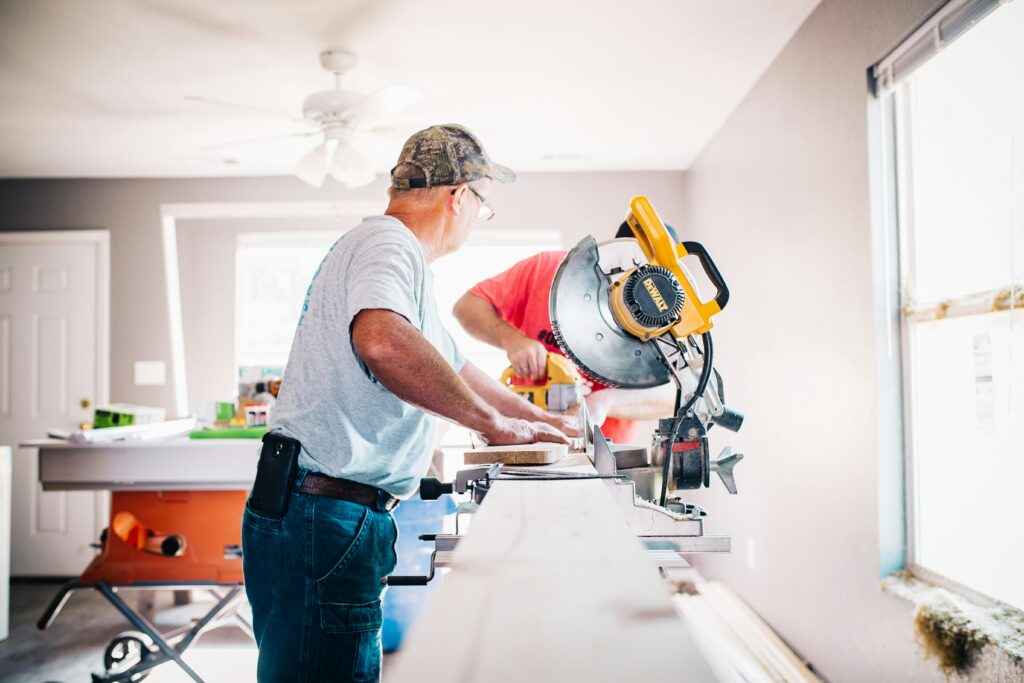
Next, gather the necessary tools for the project. You will need a table saw or a miter saw to cut the wood into the required size and shape. A tape measure will come in handy for accurate measurements, and a power sander or sandpaper will be essential for smoothing the wooden squares. Additionally, you will need clamps, wood glue, and a brush for applying a protective finish.
Planning the Design
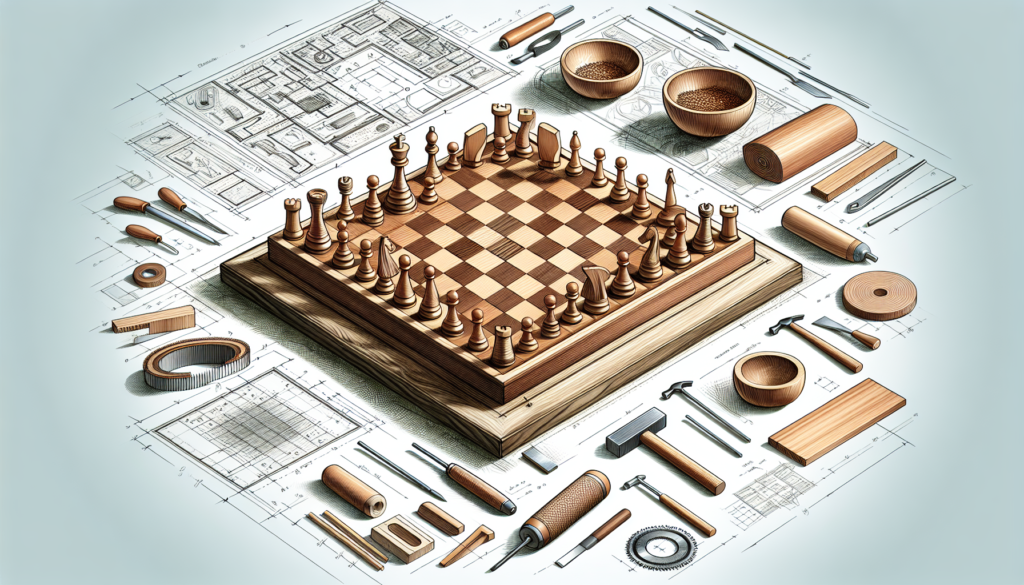
Before you begin constructing your chessboard, it’s essential to plan the design properly. Start by deciding on the size of the chessboard. Standard chessboards usually have 64 squares, arranged in an 8×8 grid. However, you can adjust the size according to your preference and available space.
Once you’ve determined the size, it’s time to choose a chessboard pattern. The most common and recognizable pattern is the alternating light and dark squares. However, you can also get creative and come up with unique designs by using different wood species or incorporating more intricate patterns like checkered or diagonal layouts. Consider how the final chessboard will complement your surroundings and personal style.

Preparing the Wood
With the design planned, it’s time to prepare the wood for assembly. Start by measuring and cutting the wooden squares according to your chosen size. Ensure each square is identical in measurements to maintain consistency throughout the chessboard. Take your time and double-check the measurements to avoid any discrepancies in the final result.
Once all the squares have been cut, move on to sanding them. This step is crucial for achieving a smooth and professional-looking chessboard. Use a power sander or sandpaper to sand the wooden squares on all sides, ensuring there are no rough edges or splinters. Take care to create a consistent surface for the chessboard.
Assembling the Chessboard
Now that you have prepared the wooden squares, it’s time to assemble the chessboard. Start by arranging the squares according to your chosen pattern. Be meticulous in matching the colors and creating a visually pleasing layout. Once satisfied with the arrangement, apply wood glue to the back of each square and carefully press them together, creating a solid bond.
To ensure the squares stay in place while the glue dries, use clamps to secure the chessboard. Distribute the clamps evenly along the edges, applying gentle pressure. Leave the chessboard undisturbed for the recommended drying time specified by the wood glue manufacturer. This step is essential to prevent any squares from shifting or coming loose after assembly.

Creating the Border
To give your chessboard a finished and polished look, adding a border is a great idea. Start by choosing the border design that best complements your chessboard. The border can be as simple or intricate as you desire, depending on your woodworking skills and available tools. Common options include a simple frame or more decorative patterns like scallops or beveled edges.
Once you’ve decided on the border design, cut the border pieces using a table saw or miter saw. Take accurate measurements and ensure the pieces fit snugly around the edges of the chessboard. Attach the border pieces using wood glue and clamp them securely. Allow the glue to dry completely before moving on to the next step.
Finishing Touches
Before your chessboard is ready for use, it’s important to give it a smooth and elegant finish. Begin by sanding the entire chessboard, including the border, to create a uniform surface. Pay attention to any rough spots or imperfections and smooth them out with sandpaper or a power sander. Once satisfied with the smoothness, remove any dust or debris to prepare for applying a protective finish.
Apply a protective finish such as varnish or lacquer to enhance the natural beauty of the wood and protect it from moisture or damage. Use a brush to evenly coat the entire chessboard, following the manufacturer’s instructions for application and drying time. Apply multiple coats if desired, allowing each coat to dry completely before adding the next.

Adding the Chess Pieces
Now that your wooden chessboard is complete, it’s time to add the chess pieces. You can choose to purchase a set of chess pieces or create your own. Creating your own chess pieces allows for customization and personalization. Use a lathe or carving tools to shape the desired pieces from wood or consider using different materials like metal or glass for a unique touch.
To keep the chess pieces organized and easily accessible, create a storage compartment within the chessboard. This can be achieved by assembling a removable tray or incorporating magnets to hold the pieces in place. Ensure the storage compartment is large enough to accommodate all the pieces safely.
Tips for Success
To ensure a successful woodworking project, here are a few helpful tips:
- Take accurate measurements at every stage of the project to maintain precision.
- Double-check your calculations and measurements to avoid any errors or inconsistencies.
- Practice precision in all steps, from cutting to assembling, to achieve a professional result.
- Seek inspiration and reference from online resources or woodworking books to gather ideas and techniques.
- Take your time and work patiently, especially during delicate steps like gluing or sanding, to avoid mistakes.

Common Mistakes to Avoid
While making a wooden chessboard, it’s important to avoid some common mistakes that can affect the overall outcome. Here are a couple of mistakes to watch out for:
- Using the wrong type of wood can lead to an unsatisfactory chessboard. Ensure you choose a hardwood that is durable and visually appealing.
- Neglecting to sand the chessboard properly can result in rough surfaces or splinters. Take the time to sand the wooden squares thoroughly for a flawless finish.
By paying attention to these common mistakes, you can create a wooden chessboard that is both functional and visually stunning.
Conclusion
Congratulations! You have successfully created your own wooden chessboard. Now it’s time to enjoy the fruits of your labor and challenge friends and family to a game of chess. Your homemade chessboard not only adds a touch of elegance to your space but also allows you to improve your chess skills. So grab your new board, set up the chess pieces, and embark on a journey of strategic moves and intellectual battles. May your chess games be enjoyable and fruitful on your new wooden chessboard!


