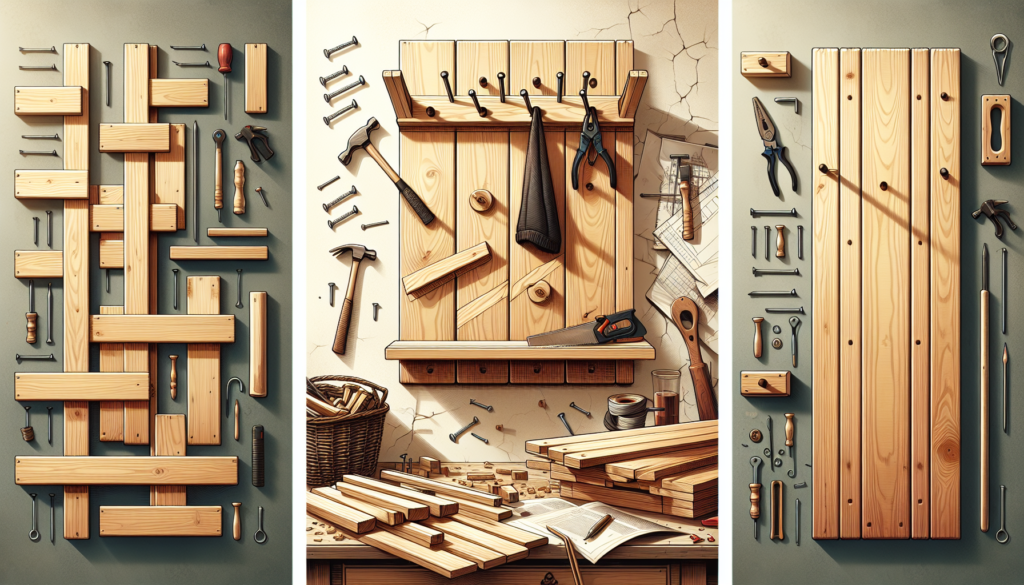
Have you ever wanted to add a touch of rustic charm to your hallway? Look no further than a wooden coat rack! Creating your own wooden coat rack is not only a fun and creative project, but it also allows you to customize it to match your personal style and needs. Whether you’re a seasoned woodworker or just starting out, this article will guide you through the step-by-step process of making a beautiful and functional wooden coat rack. So grab your tools and let’s get started on this woodworking adventure!
Materials and Tools
Choosing the Wood
When it comes to making a wooden coat rack, choosing the right type of wood is essential. Oak, cherry, maple, and pine are popular options due to their durability and aesthetic appeal. Consider the style and finish you desire, as different woods can provide varying appearances. Additionally, make sure the wood is free from knots or cracks, as these imperfections may affect the final product.
Gathering the Tools
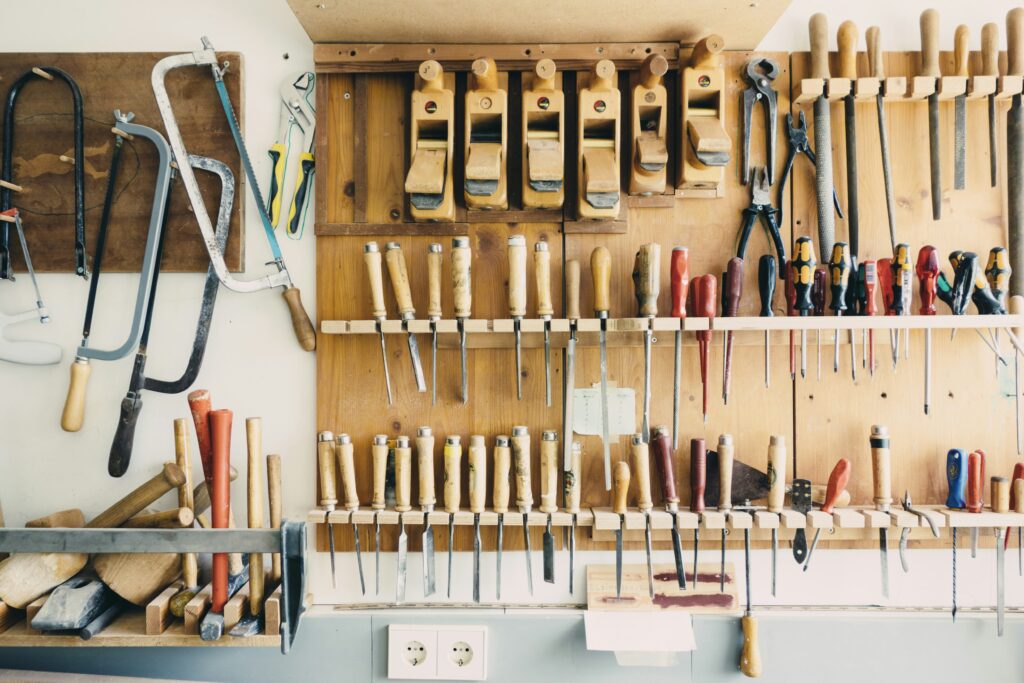
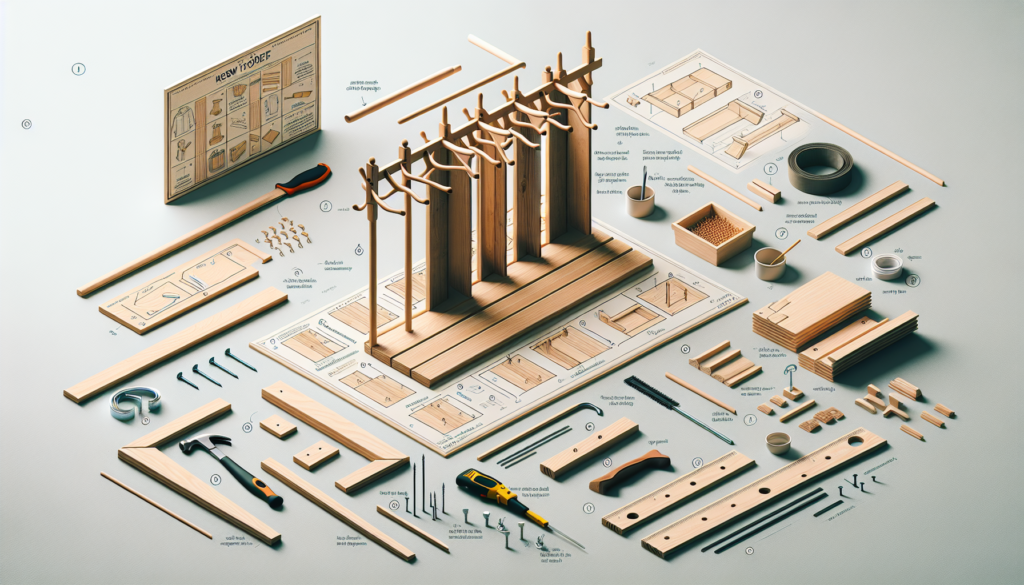
To successfully create a wooden coat rack, you’ll need some essential tools. These include a saw, drill, sandpaper, measuring tape, pencil, level, wood glue, screws, a screwdriver, and a finish of your choice (such as paint or stain). Ensure your tools are in good condition and that you have the correct size and type for the project at hand.
Additional Materials
In addition to the wood and tools, there are a few other materials you may want to consider. Depending on the design of your coat rack, you may need support brackets, hooks, a shelf, or decorative elements such as wood embellishments or knobs. These additional materials can add functionality and style to your wooden coat rack, so be sure to have them ready if desired.
Design and Measurements
Determining the Design
Before starting your wooden coat rack project, take some time to determine the design that best suits your needs and personal style. Do you prefer a rustic look, a modern design, or something in between? Consider the number of hooks you want, the overall shape of the coat rack, and whether you’d like any additional features such as a shelf or decorative elements. Your chosen design will guide you throughout the project.
Taking Measurements
With your design in mind, it’s important to take accurate measurements to ensure your coat rack fits perfectly in its intended space. Measure the width, height, and depth of the area where you plan to hang the rack. If you’re adding a shelf or any other features, measure the appropriate dimensions for those as well. Double-check your measurements to avoid any mistakes that could affect the final result.
Sketching the Plans
To bring your design and measurements together, take the time to sketch out your plans on paper. A simple drawing can help you visualize the final product and serve as a helpful guide during the construction process. Include precise measurements, labeling each component to make assembly easier later on. This step also allows you to make any necessary adjustments before moving forward.
Cutting and Shaping the Wood
Preparing the Wood
Before cutting the wood, it’s important to prepare it properly. Ensure that the wood is clean and free from any debris or imperfections such as dirt or splinters. Sanding the wood smooths its surface and removes any rough edges. Take care to sand evenly to achieve a professional-looking finish. Once the wood is prepared, you can move on to cutting the necessary pieces.
Cutting the Base
The base of your coat rack provides stability and support for the entire structure. Using your measurements and design plans, carefully cut the wood to the desired length and width for the base. Ensure the edges are straight and even, as this will affect the overall appearance. Once cut, sand the edges and surface of the base to create a smooth finish.
Cutting the Hooks
The hooks on your coat rack are vital for hanging coats, hats, and other accessories. Measure and mark the desired length for each hook on a piece of wood, taking into account the width of the base and the spacing between hooks. Use a saw to carefully cut along the marked lines. Sand the edges and surfaces of the hooks to ensure they are smooth and free from any roughness that could snag clothing.
Shaping the Hooks
To add a unique touch to your wooden coat rack, consider shaping the hooks instead of leaving them as plain rectangles. You can use a router or a chisel to round the edges or create decorative patterns. However, be sure to maintain a functional shape that will securely hold coats and other items. Sand the shaped hooks once again to achieve a polished finish before moving on to the assembly process.
Assembling the Rack
Preparing the Base
Before assembling the coat rack, you may want to stain or paint the base if you prefer a finished look. Allow the base to dry fully before proceeding. Next, position the hooks on the base according to your design plans. Mark the placement of the hooks lightly with a pencil to use as guidelines during the assembly. This step ensures precise and even alignment, resulting in a visually appealing and functional coat rack.
Attaching the Hooks
Using wood glue and screws, attach the hooks to the base following the predetermined markings. Apply wood glue evenly to the back of each hook and position them carefully before securing them with screws. Ensure the hooks are straight, flush with the base, and securely attached. Take your time during this step to achieve a clean and professional finish.
Attaching Support Brackets
If your coat rack design includes support brackets for added stability, now is the time to attach them. Position the brackets according to your design plans and the size of your coat rack. Secure them to the base using wood glue and screws, making sure they are level and properly aligned. Support brackets will help distribute the weight of the coats and ensure your coat rack remains sturdy over time.
Applying Finishes
Once all the components are securely attached, you can move on to applying a finish to enhance the appearance and protect the wood. Choose a finish that complements your overall design, whether it’s paint, stain, or a clear coat for a natural look. Follow the manufacturer’s instructions for the chosen finish and allow sufficient drying time before using the coat rack.
Optional Features
Adding a Shelf
If you want to maximize the functionality of your coat rack, consider adding a shelf. A shelf provides extra storage space for smaller items and can also serve as a display area for decorative objects or plants. Measure and cut the shelf according to your design plans, attach it securely to the coat rack, and finish it to match the rest of the wooden structure.
Incorporating Decorative Elements
To personalize your wooden coat rack further, consider incorporating decorative elements. These can include wood emb
