So you’ve been searching for ways to enhance your bathroom organization and add a touch of rustic charm to your space. Look no further! In this article, we’ll explore step-by-step instructions on how you can easily make a wooden soap dish or bathroom organizer. Not only will this project be practical and functional, but it will also allow you to unleash your creativity and showcase your DIY skills. From choosing the right type of wood to adding unique finishing touches, we’ll guide you through the process to help you create a beautiful and personalized wooden soap dish or bathroom organizer that will be the envy of all your friends. But that’s not all! If you’re feeling adventurous, we’ll also provide some fascinating ideas for crafting your very own wooden catapult or trebuchet – perfect for those looking to channel their inner medieval engineer. So let’s get started and embark on this exciting journey of woodworking!
Materials and Tools
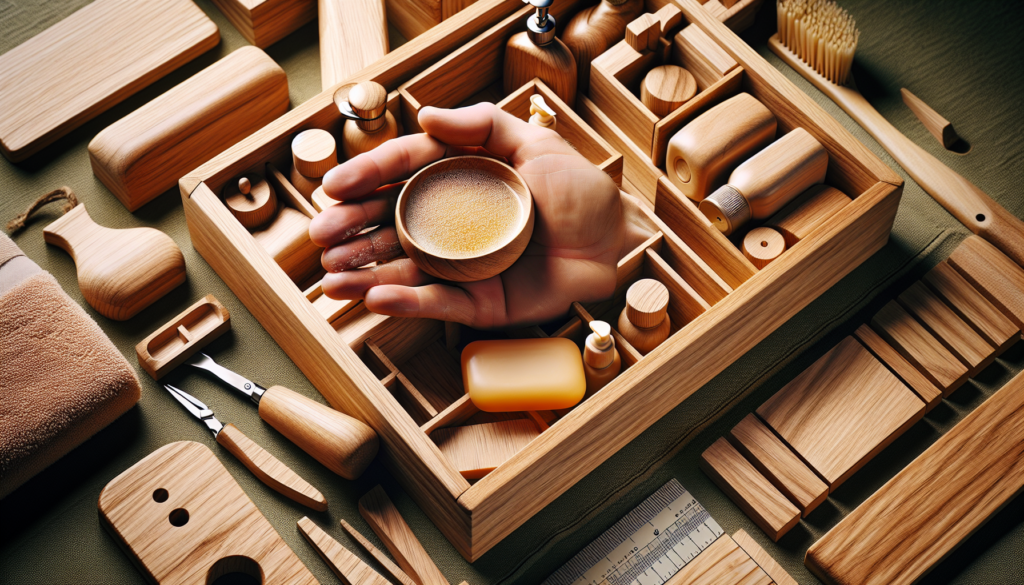
To create your own wooden soap dish or bathroom organizer, you will need a few materials and tools. Here’s a list of what you’ll need:
Wood
The first item on the list is, of course, wood. Choose a sturdy and durable type of wood that can withstand moisture and humidity, such as cedar or teak. You can also opt for reclaimed wood if you want to add a rustic touch to your creation.
Measuring Tape
Accurate measurements are crucial when working with wood, so be sure to have a measuring tape on hand. This will help you determine the dimensions of your soap dish or organizer and ensure that everything fits perfectly.
Saw
A saw is essential for cutting the wood into the desired shapes and sizes. Depending on the complexity of your design, you may need a handsaw or a power saw. Ensure that the saw is sharp and in good condition for clean and precise cuts.
Sandpaper
After cutting the wood, you’ll want to smooth out any rough edges or surfaces. Sandpaper of various grits (ranging from coarse to fine) will help you achieve a smooth and polished finish. It’s best to have different types of sandpaper available for optimal results.
Wood Glue
To assemble the different pieces of your soap dish or bathroom organizer, you’ll need a reliable wood glue. Choose a strong adhesive that is specifically designed for woodworking projects. This will ensure that your creation remains sturdy and durable over time.
Clamps
Clamps come in handy when you’re gluing pieces of wood together. They help hold the pieces securely, allowing the glue to dry properly. Consider having different sizes of clamps available to accommodate various project sizes.
Wooden Dowels
Wooden dowels can be used as additional reinforcements to strengthen the joints of your soap dish or organizer. They provide extra stability and support, especially for larger or heavier items. Make sure to choose dowels that are the appropriate size for your project.
Drill
A drill is indispensable when it comes to creating holes for screws or dowels. It allows for precise and efficient drilling, making the assembly process much easier. Make sure to have the appropriate drill bits for the size of screws or dowels you’re using.
Screws
Screws are essential for securing the different components of your soap dish or bathroom organizer. Choose screws that are suitable for woodworking projects, ensuring they are not too long or too short for the thickness of your wood.
With these materials and tools at your disposal, you’re well-equipped to embark on your wooden soap dish or bathroom organizer project.
Design and Measurements
Before diving into the construction process, it’s important to plan and design your soap dish or bathroom organizer. This involves determining the dimensions, sketching the design, creating a cutting plan, and marking measurements on the wood.
Determining Dimensions
Measure the area in your bathroom where you plan to place the soap dish or organizer. Take into account the available space, the items you intend to store, and any specific requirements you may have. Once you have these measurements, you can determine the overall dimensions of your project.
Sketching the Design
Sketching your soap dish or bathroom organizer allows you to visualize the final outcome and make any necessary adjustments before building. Consider the layout, compartments, and any decorative features you’d like to incorporate. This step helps you bring your ideas to life and ensures that you’re satisfied with the design.
Creating a Cutting Plan
With the overall dimensions and design in mind, create a cutting plan. This involves determining the sizes of each individual wood piece and how they fit together. By carefully planning your cuts, you can optimize the use of your materials and minimize waste.
Marking Measurements on the Wood
Using your measurements from the cutting plan, mark the dimensions on the wood pieces. This will serve as a guide when cutting the wood and help ensure accuracy. Take your time and double-check your measurements before making any cuts.
With a well-thought-out design and precise measurements, you’re ready to move on to the next steps of the woodworking process.

Cutting and Sanding
Once you have your design and measurements finalized, it’s time to start cutting the wood pieces and sanding them to perfection.
Cutting the Wood Pieces
Using a saw, carefully cut the wood according to your measurements. Follow your cutting plan closely to ensure that each piece is the correct size and shape. Take your time to achieve clean and precise cuts, as this will directly impact the final result.
Sanding the Edges
After cutting the wood, you’ll likely have some rough edges. Use sandpaper to smooth out these edges, creating a visually pleasing and safe surface. Start with a coarse-grit sandpaper to remove any large imperfections, and gradually move to finer-grit sandpaper for a smoother finish.
Smoothing the Surfaces
In addition to sanding the edges, it’s essential to sand the entire surface of each wood piece. This step helps create a uniform and polished look. Pay attention to any visible scratches or blemishes, and sand them away until you achieve a smooth and even surface.
By cutting the wood accurately and sanding it thoroughly, you’re well on your way to constructing a high-quality soap dish or bathroom organizer.
Assembly
Now that you have your wood pieces cut and sanded, it’s time to start assembling your soap dish or bathroom organizer. This involves applying wood glue, clamping the pieces together, securing with screws, and attaching wooden dowels for added support.
Applying Wood Glue
Apply a generous amount of wood glue to the edges of the wood pieces that will be joined together. Ensure that the glue is spread evenly across the surface to create a strong bond. Use a brush or a small spatula to distribute the glue if necessary.
Clamping the Pieces Together
After applying the wood glue, carefully align the edges of the wood pieces and press them together firmly. To keep the pieces in place while the glue dries, use clamps to apply even pressure. Position the clamps strategically to secure the joints and prevent any shifting during the drying process.
Securing with Screws
For additional strength and stability, you can use screws to reinforce the joints. Pre-drill guide holes into the wood to prevent splitting, and then drive the screws through the holes to connect the pieces securely. Be mindful of the screw length, ensuring they do not protrude through the surface of the wood.
Attaching Wooden Dowels
If your project requires extra reinforcement, attach wooden dowels to the joints. Predrill holes to the appropriate depth and diameter, then apply wood glue to the dowels before inserting them into the holes. Wipe off any excess glue and allow it to dry completely.
With careful assembly techniques, you can create a sturdy and well-constructed soap dish or bathroom organizer.

Finishing Touches
To give your wooden soap dish or bathroom organizer a professional and polished look, it’s important to pay attention to the finishing touches. This involves sanding the entire piece, smoothing the edges, and applying a wood finish.
Sanding the Entire Piece
Using a fine-grit sandpaper, go over the entire surface of your soap dish or organizer. This step helps remove any remaining imperfections, such as small scratches or uneven surfaces. Sanding the entire piece ensures that it looks smooth and flawless from all angles.
Smoothing the Edges
In addition to sanding the surface, pay special attention to smoothing the edges of your wooden creation. Use sandpaper or a sanding block to gently round or bevel the edges, creating a more refined and comfortable feel. This step also helps prevent any splintering or sharp corners.
Applying a Wood Finish
To protect the wood and enhance its natural beauty, consider applying a wood finish or sealer. Choose a finish that is suitable for bathroom use and provides water resistance. Apply the finish according to the manufacturer’s instructions, typically using a brush or a clean cloth. Allow the finish to dry completely before using your soap dish or bathroom organizer.
By completing these finishing touches, you’ll elevate the overall appearance and longevity of your wooden creation.
Soap Dish
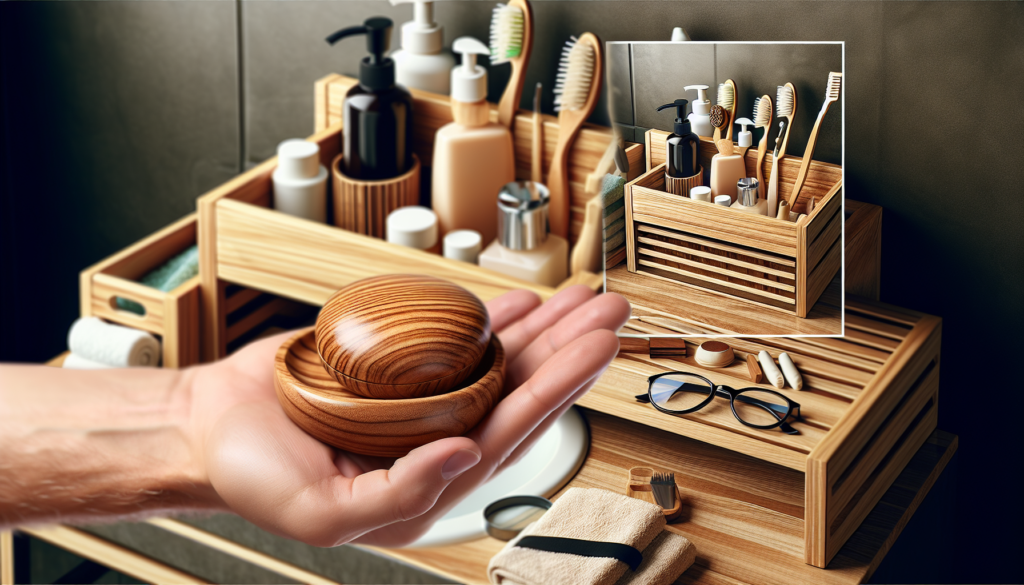
Creating a wooden soap dish allows you to design a functional and aesthetically pleasing piece for your bathroom. Here are some steps to guide you:
Creating the Base
Start by cutting a piece of wood to serve as the base of your soap dish. Ensure that it is larger than the soap you plan to use, allowing for ample space.
Making Drainage Holes
To prevent water buildup and extend the life of your soap, drill small drainage holes into the base of the dish. This will allow excess water to escape, keeping your soap dry.
Adding a Groove
Consider adding a groove or channel to the base of the soap dish for easy cleaning. This will help keep the soap in place and prevent it from sliding around.
With these simple steps, you can create a wooden soap dish that enhances your bathroom decor while keeping your soap dry and accessible.

Toothbrush Holder
A wooden toothbrush holder provides a stylish and functional solution for organizing your toothbrushes. Here’s how you can create your own:
Designing the Compartments
Decide how many compartments you need for your toothbrush holder. Sketch out a design that accommodates your toothbrush sizes and allows for easy access.
Measuring Toothbrush Sizes
Measure the width and height of your toothbrushes to ensure that the compartments will provide a snug fit. Allow for a little extra space to make it easy to insert and remove the brushes.
Creating Slots or Holes
Cut slots or drill holes in the wooden base of your toothbrush holder to hold the toothbrushes securely. Make sure the slots or holes match the size of your toothbrush handles.
By customizing the design to suit your toothbrush needs, you can create a wooden holder that keeps your dental essentials neat and organized.
Shower Caddy
A wooden shower caddy is ideal for keeping your shampoo, conditioner, and other shower products within easy reach. Here’s how you can make one:
Planning the Storage Sections
Determine the number and size of shelves or compartments you need for your shower caddy. Consider the dimensions of your shower products and allocate sufficient space for each item.
Creating Shelves and Hooks
Cut wood pieces to serve as shelves for your shower caddy. Sand the edges and surfaces for a smooth finish. Additionally, attach hooks to the sides of the caddy to hang items like loofahs or razors.
Adding Drainage Holes
To prevent water buildup and the growth of mold and mildew, drill small drainage holes in the shelves of your shower caddy. This will allow water to escape, keeping your products dry.
With your own customized shower caddy, you can enjoy a clutter-free shower experience while keeping all your essentials organized.

Towel Rack
A wooden towel rack adds a touch of elegance to your bathroom while providing a practical storage solution. Here’s how you can make one:
Determining Length and Width
Measure the available wall space in your bathroom where you want to install the towel rack. Decide on the appropriate length and width for the rack, taking into consideration the number of towels you want to hang.
Creating Multiple Rungs
Cut wood pieces to serve as the rungs of your towel rack. Sand the edges and surfaces for a smooth finish. Space the rungs evenly along the length of the rack, leaving sufficient room between each rung for hanging towels.
Adding Hooks for Hanging
Consider adding hooks to the bottom of the towel rack for additional hanging space. These hooks can be used for items like bathrobes or smaller towels.
With your own handmade towel rack, you can elevate the style of your bathroom while keeping your towels organized and easily accessible.
Quirky Designs
If you want to add some personality and creativity to your wooden soap dish or bathroom organizer, consider some quirky design options. Here are a couple of ideas to inspire you:
Animal-Shaped Organizers
Bring a touch of whimsy into your bathroom with animal-shaped organizers. Whether it’s a wooden cat soap dish or an elephant-themed toothbrush holder, these designs add a playful and unique element to your bathroom decor.
Patterned or Engraved Surfaces
Incorporate intricate patterns or engravings into your wooden creation for a visually striking result. From geometric shapes to nature-inspired motifs, there are countless design possibilities. Consider using techniques like wood burning or carving to achieve these details.
Incorporating Natural Elements
If you’re a fan of the outdoors, consider incorporating natural elements into your soap dish or bathroom organizer. This could involve incorporating branches or driftwood as part of the design, adding a rustic and earthy touch to your creation.
By thinking outside the box and embracing quirky designs, you can create one-of-a-kind wooden pieces that reflect your personality and add visual interest to your bathroom.
With these comprehensive instructions and ideas, you’re well-equipped to embark on your wooden soap dish or bathroom organizer project. Remember to take your time, stay safe when handling tools, and unleash your creativity. Enjoy the process of crafting a unique and functional piece that adds a delightful touch to your bathroom.


