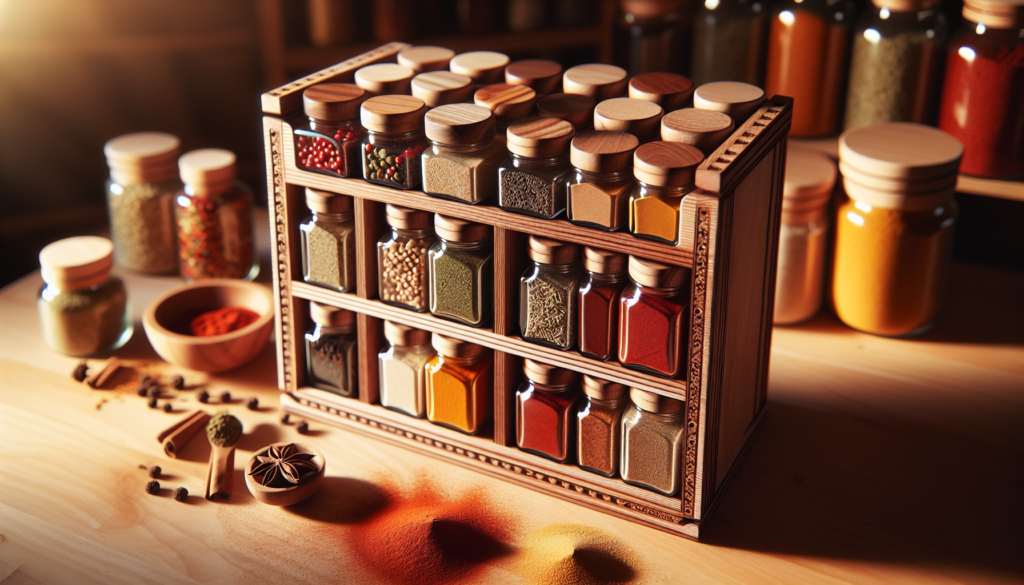
So you’ve always wanted a wooden spice rack to neatly organize and display your collection of flavorful seasonings. Well, look no further because in this article, we’re going to show you just how easy it is to create your very own wooden spice rack. Whether you’re a seasoned DIY-er or a beginner with a love for craftsmanship, we’ve got you covered with step-by-step instructions, practical tips, and a sprinkle of creativity to make your spice rack truly unique. Get ready to embark on a fun and rewarding project that will not only enhance your kitchen organization but also add a touch of rustic charm to your culinary space. Let’s get started!
Introduction
If you enjoy cooking and love adding a little bit of flavor to your dishes, then having a well-organized spice rack is a must. Not only does it make your cooking more efficient, but it also adds a touch of elegance to your kitchen. While there are plenty of spice racks available in the market, making your own wooden spice rack allows you to personalize it to your taste and needs. In this article, we will guide you through the process of making your own wooden spice rack step by step. So let’s get started!
Choosing the Wood
Consider the type of wood
When choosing the wood for your spice rack, it’s important to consider both its strength and aesthetic appeal. Hardwoods like oak, maple, or cherry are great options as they are durable and will withstand the weight of the spice containers. They also have a beautiful natural grain that adds a touch of elegance to your spice rack.
Check for its durability
Ensure that the wood you choose is strong and durable enough to hold the weight of the spice containers without sagging or warping over time. Look for wood that is kiln-dried to minimize any potential issues with shrinkage or cracks.
Assess the wood’s appearance
The appearance of the wood is also an important aspect to consider. Decide whether you want a natural, unfinished look or if you would like to stain or paint the wood to match your kitchen decor. Take into account the existing color scheme and style of your kitchen to ensure that the wood complements the overall aesthetic.
Measuring and Planning
Measure the available space
Before getting started, measure the available space in your kitchen where you plan to hang the spice rack. This will help you determine the appropriate dimensions for your spice rack and ensure a perfect fit.
Determine the dimensions of the rack
Based on the available space and your personal preference, determine the dimensions of your spice rack. Consider the number of spice containers you want to accommodate and their sizes. It’s also important to leave enough space between shelves to comfortably access and organize your spices.
Sketch a design plan
Once you have determined the dimensions, sketch a design plan for your spice rack. This will serve as a blueprint for your project and help you visualize the end result. Include details such as the number of shelves, the distance between them, and any additional features you may want to incorporate.
Gathering the Materials and Tools
List of materials required
To start building your wooden spice rack, gather the necessary materials. You will need the chosen wood, screws or nails for assembly, wood glue for added strength, sandpaper for sanding the surfaces, a finish such as varnish or paint, and any decorative elements you may want to add.
List of tools required
In addition to the materials, gather the tools needed for the project. This may include a measuring tape, a saw or miter saw for cutting the wood, a sanding block or electric sander, a drill for pilot holes, and a paintbrush or sprayer for applying the finish.
Preparing the Wood
Cutting the wood pieces
Using the dimensions from your design plan, measure and cut the wood pieces for your spice rack. A miter saw or a hand saw can be used, depending on your comfort and the availability of tools. Take your time to ensure accurate cuts and smooth edges.
Sanding the surfaces
After cutting the wood, sand the surfaces to remove any roughness or splinters. Use sandpaper or an electric sander with fine grit to achieve a smooth finish. Pay extra attention to the edges and corners to make them safe and comfortable to handle.
Applying a finish
Applying a finish is a crucial step to protect the wood and enhance its appearance. Depending on your preference, choose a varnish or paint that complements your kitchen decor. Apply multiple coats, allowing each coat to dry before applying the next, for a durable and attractive finish.
Constructing the Spice Rack
Building the frame
Start constructing your spice rack by assembling the frame. Use wood glue and screws or nails to attach the vertical and horizontal pieces together. Make sure the frame is square and sturdy. The frame serves as the foundation for the shelves and back of the spice rack.
Adding the shelves
Once the frame is built, add the shelves according to your design plan. Measure and cut the shelf pieces to fit snugly within the frame. Attach them securely using wood glue and screws or nails. Make sure the shelves are level and evenly spaced.
Attaching the back
To provide stability and prevent the spices from falling off the back, attach a piece of wood to the back of the spice rack. Measure, cut, and secure the back piece using screws or nails. This will also give your spice rack a polished, finished look.
Installing the Rack
Choosing the installation method
Decide how you want to install your spice rack. The most common methods include hanging it on the wall or using hooks or brackets to hang it inside a cabinet or pantry. Consider the available space, accessibility, and your personal preference when choosing the installation method.
Mounting the spice rack on the wall
If you choose to mount the spice rack on the wall, find the studs using a stud finder and mark their locations. Use appropriate screws and anchors to securely attach the spice rack to the wall. Ensure it is level and stable before loading it with spice containers.
Using hooks or brackets
If you prefer to hang the spice rack inside a cabinet or pantry, use hooks or brackets specifically designed for this purpose. Attach them securely to the interior walls of the cabinet or pantry and hang the spice rack. Make sure the hooks or brackets can support the weight of the spice rack and spices.
Organizing the Spices
Arranging the spices
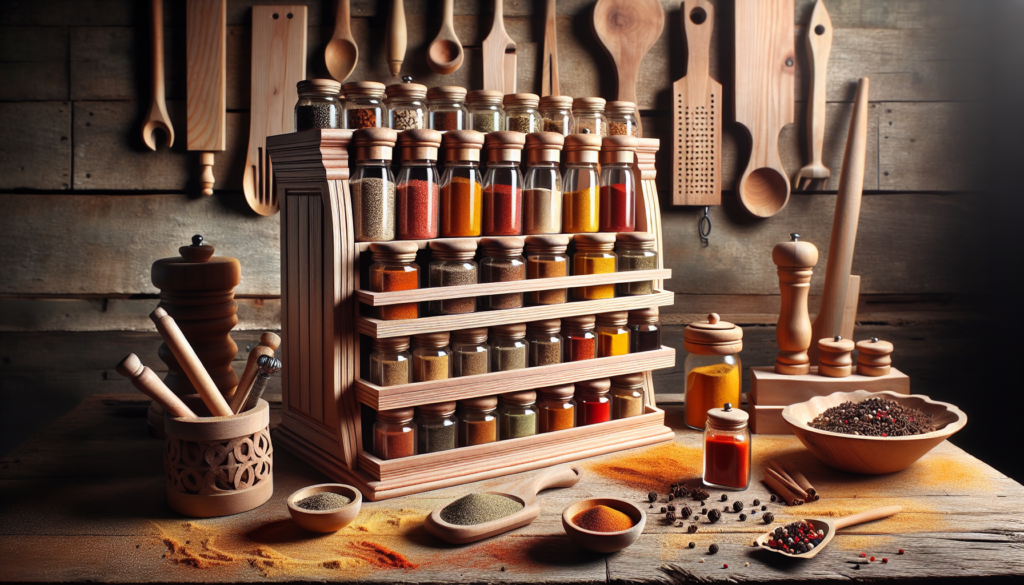
With your spice rack ready, it’s time to organize your spices. Arrange them in a way that suits your cooking style and preferences. You can group them by type, frequency of use, or in alphabetical order. Consider the size and shape of the containers to ensure they fit comfortably on the shelves.
Labeling the spice containers
To easily identify and locate your spices, label the spice containers. Use adhesive labels or a label maker to create clear, legible labels. Include the name of the spice and any additional information such as the expiration date or suggested uses.
Creating a systematic approach
Maintain a systematic approach to keep your spice rack organized. Regularly update the labels and arrange the spices as needed. Consider implementing a rotation system to ensure that older spices are used before newer ones. This will help you maintain a well-organized and functional spice rack.
Maintaining and Cleaning
Regular dusting
To keep your wooden spice rack clean, regularly dust it using a soft cloth or feather duster. This will help remove any accumulated dust or debris and keep the wood looking its best. Make sure to reach all the corners and surfaces, including the back.
Wiping with a damp cloth
For more thorough cleaning, wipe the surfaces of your spice rack with a damp cloth. Avoid using excessive water or harsh chemicals that may damage the wood. Dry the surfaces completely to prevent moisture from seeping into the wood.
Avoiding moisture exposure
Wood is susceptible to moisture, so it’s important to avoid exposing your spice rack to excessive humidity or direct water contact. Ensure proper ventilation in your kitchen and keep the spice rack away from sinks or other sources of moisture. This will help maintain the integrity and durability of the wood.
Personalizing the Spice Rack
Adding decorative elements
To give your wooden spice rack a personal touch, consider adding decorative elements. This could include ornamental knobs, engravings, or inlays. Choose elements that complement the overall design of your kitchen and reflect your personal style.
Painting or staining the wood
If you prefer a more colorful or coordinated look, consider painting or staining the wood. Choose a color that complements your kitchen decor and apply it evenly to the wood surfaces. Remember to apply a clear coat or sealer to protect the paint or stain.
Incorporating additional features
If you have specific needs, consider incorporating additional features into your spice rack. This could be hooks for hanging measuring spoons, a magnetic strip for storing metal spice containers, or a chalkboard panel for writing notes or recipes. Get creative and customize your spice rack to make it truly yours.
By following these steps, you can create a beautiful and functional wooden spice rack that will add both style and organization to your kitchen. Enjoy the satisfaction of a homemade project and delight in having all your favorite spices at your fingertips. Happy cooking!
