So, you’ve decided to add a personal touch to your home or business by creating custom wooden signs. The allure of beautifully crafted signs that reflect your unique style and personality is undeniable. But where do you start? How do you go from a mere idea to a stunning finished product that will leave everyone in awe? In this article, we will guide you through the process, providing you with all the essential steps and tips to create your very own custom wooden signs. Get ready to unleash your creativity and turn your vision into reality! Creating custom wooden signs can be a fun and rewarding project that allows you to showcase your creativity while adding a personal touch to your home or business. Whether you’re looking to create a rustic farmhouse sign or a modern, sleek design, there are several important considerations to keep in mind. In this article, we will guide you through the process of choosing the right wood, designing your sign, preparing the wood, transferring the design, carving techniques, finishing and staining, painting and decorating, adding hardware and hanging, and finally, maintenance and care.
Choosing the Right Wood
When it comes to choosing the right wood for your custom sign, there are a few factors to consider. First and foremost, your budget will play a role in determining the type of wood you can use. Different types of wood come with varying price points, so be sure to consider your budget before making a decision.
In addition to your budget, you will also want to think about the desired durability of your sign. If your sign will be exposed to the elements or high traffic areas, you’ll want to choose a wood that is known for its durability and resistance to weathering. On the other hand, if your sign will be displayed indoors or in a protected area, you may have more flexibility in your wood selection.
Lastly, consider the aesthetic qualities of different wood types. Some woods, like oak or mahogany, have a rich texture and grain pattern that can add a touch of elegance to your sign. Others, like pine or cedar, have a more rustic and natural look. Take into account the overall style and theme you want to achieve with your sign and choose a wood type that complements your vision.
Designing Your Sign
Before you start creating your custom wooden sign, it’s important to carefully plan out the design to ensure it meets your needs and preferences. First, decide on the purpose of your sign. Will it be a welcome sign for your home, a business logo display, or something else entirely? Knowing the purpose will help guide your design choices.
Next, consider the location where your sign will be displayed. Take into account the size of the space and any existing decor or structures that may influence your design. It’s also important to measure the available space accurately so that your sign fits perfectly.
Once you have a clear idea of the purpose and location of your sign, it’s time to sketch your design. Use a pencil and paper or a digital design tool to visualize how your sign will look. Experiment with different layouts, font styles, and text placements until you are satisfied with the overall design.
Preparation and Safety
Before diving into the actual construction of your wooden sign, it’s important to gather all the necessary tools and materials. Depending on the complexity of your design, you may need tools such as a saw, sandpaper, carving tools, brushes, and a drill for hanging hardware. Make a list of everything you need and ensure you have them on hand before starting.
In addition to gathering tools and materials, it’s crucial to prepare your workspace. Find a well-ventilated area where you can comfortably work on your sign. Clear any clutter and ensure you have enough space to maneuver. Consider laying down a drop cloth or newspaper to protect your work surface from any potential damage.
Wearing protective gear is also essential during the sign-making process. Protect your eyes with safety glasses or goggles to prevent any wood dust or debris from causing harm. Additionally, wearing gloves can help safeguard your hands while handling sharp tools or working with chemicals.
Preparing the Wood
Once you have your workspace ready and your tools gathered, it’s time to prepare the wood for your custom sign. Start by marking and measuring the wood according to your design specifications. Double-check your measurements to ensure accuracy and make any necessary adjustments before proceeding.
With your measurements in place, use a saw to cut the wood to the desired size. Take your time and follow proper safety protocols when using the saw. Remember to use a straight edge or a measuring tool as a guide to ensure straight and precise cuts.
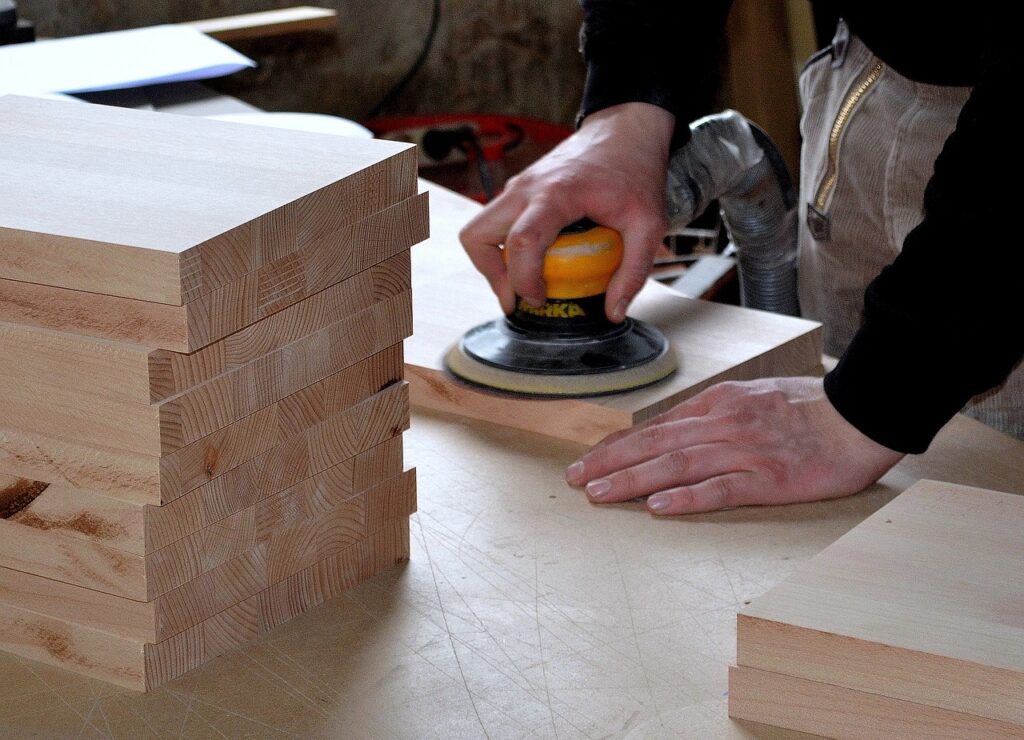
After cutting the wood, it’s important to sand the surface to smooth out any rough edges or imperfections. Start with a coarse-grit sandpaper to remove any splinters or rough spots. Then, gradually move on to a finer-grit sandpaper to achieve a smooth and polished surface. Sanding not only enhances the appearance of the wood but also creates a suitable canvas for your design.
Transferring the Design
With your prepared wood in hand, it’s time to transfer your carefully crafted design onto the surface. There are several methods you can use to accomplish this. One option is to trace or transfer the design using carbon paper. Simply place the carbon paper between your design sketch and the wood, and use a pencil or pen to trace over the design. The pressure from your pen or pencil will transfer the carbon onto the wood, leaving behind a clear outline.
Alternatively, you can use a pencil to lightly sketch your design directly onto the wood. This method allows for greater control and flexibility as you can make adjustments or corrections as needed. Just be sure to sketch lightly so that the lines are easily covered or erased if necessary.
Carving Techniques
When it comes to carving your design into the wood, it’s essential to learn the basics of wood carving. Familiarize yourself with different carving techniques, such as relief carving or chip carving, to determine which approach is best suited for your design and skill level.
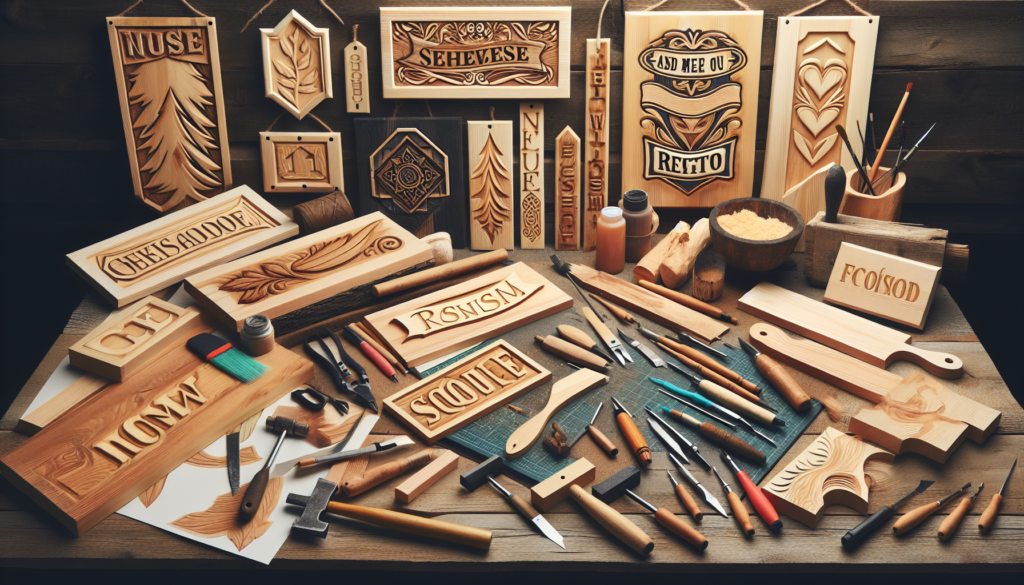
Once you have a good understanding of the carving techniques, it’s time to choose the right carving tools. Consider the intricacy of your design and select carving tools that match the level of detail you want to achieve. Carving tools can range from chisels and gouges to knives and rotary tools. Experiment with different tools to find the ones that feel comfortable and yield the desired results.
Before carving your actual sign, it’s a good idea to practice on scrap wood first. This allows you to refine your carving skills and get a better understanding of how different tools and techniques work. Take your time during this practice phase and don’t be afraid to make mistakes. It’s all part of the learning process.

Finishing and Staining
After completing the carving stage, it’s time to move on to finishing and staining your custom wooden sign. One important step is to apply wood conditioner to the surface. Wood conditioner helps prevent the wood from absorbing stain inconsistently, resulting in a more even and professional-looking finish. Follow the manufacturer’s instructions for applying the wood conditioner and allow it to dry completely before proceeding.
Choosing the right stain is also crucial in achieving the desired look for your sign. Consider the color and tone you want to achieve and select a stain that complements your design and overall aesthetic. Apply the stain evenly using a clean cloth or brush, following the manufacturer’s instructions. Allow the stain to penetrate the wood for the recommended amount of time, then wipe off any excess stain with a clean cloth.
To protect the wood and enhance its longevity, it’s important to seal it with varnish. Select a varnish that is compatible with your stain and apply it according to the manufacturer’s instructions. Applying multiple thin coats of varnish will provide better protection and result in a smoother finish. Allow each coat to dry thoroughly before applying the next.
Painting and Decorating
If you desire to add color to your wooden sign, painting and decorating is the next step. Choose your paint colors based on your design and overall aesthetic. Consider using high-quality brushes that are suitable for the type of paint you are using to ensure a smooth and even application. When painting, start with a thin layer and allow it to dry completely before adding additional coats. This will help prevent any drips or clumping of paint.
If desired, you can also incorporate additional decorative elements into your design, such as stencils, decals, or embellishments. These can add an extra touch of personality and creativity to your wooden sign. Experiment with different techniques and materials to achieve the desired effect.
Adding Hardware and Hanging
To ensure your custom wooden sign can be easily displayed, it’s important to add appropriate hardware and determine the right mounting method. Select and attach hanging hardware, such as D-rings or sawtooth hangers, to the back of your sign. Pay attention to the weight and size of your sign to ensure the chosen hardware is sturdy enough to hold it securely.
Consider the location where you plan to hang your sign and choose the appropriate mounting method. If you’re hanging the sign on a wall, determine the type of wall material (e.g., drywall, brick, or wood) and use appropriate screws or anchors to ensure stability. For free-standing signs, consider using a base or stand that complements your design while providing stability.
When hanging your custom wooden sign, take extra care to ensure proper leveling and alignment. Use a level and measuring tools to ensure the sign is straight and centered. Make any necessary adjustments before securing the sign in its desired location.
Maintenance and Care
Once your custom wooden sign is proudly displayed, it’s essential to provide proper maintenance and care to preserve its beauty and longevity. Protect the wood from moisture by avoiding prolonged exposure to rain or high humidity environments. Consider applying a protective coating, such as a wood sealer or outdoor varnish, if your sign will be exposed to the elements.
Regularly clean and dust your sign to prevent dirt or grime from accumulating and dulling the finish. Use a soft cloth or feather duster to gently wipe away any debris. Avoid using harsh chemicals or abrasive materials that could damage the wood or finish.
Over time, the protective coating on your sign may wear off or become damaged. If needed, reapply protective coatings periodically to ensure the wood remains protected and the finish remains intact. Follow the manufacturer’s instructions for applying any protective coatings and allow them to dry fully before exposing the sign to the elements again.
In conclusion, creating a custom wooden sign is an enjoyable and creative process that allows you to showcase your personal style. By carefully considering factors such as budget, durability, wood type, design, and safety, you can create a custom wooden sign that beautifully enhances any space. Whether you’re a beginner or an experienced woodworker, following these steps will help you create a stunning and unique wooden sign that will be admired for years to come.
