So you’ve always admired those beautiful wooden wine holders and you’ve decided that it’s finally time to make one of your own. You’ve come to the right place! In this article, we will guide you step by step on how to create a stunning wooden wine holder that will not only showcase your craftsmanship but also serve as a stylish addition to your home decor. From selecting the perfect type of wood to adding the finishing touches, we’ve got you covered. So grab your tools and let’s get started on this exciting DIY project!
Materials and Tools
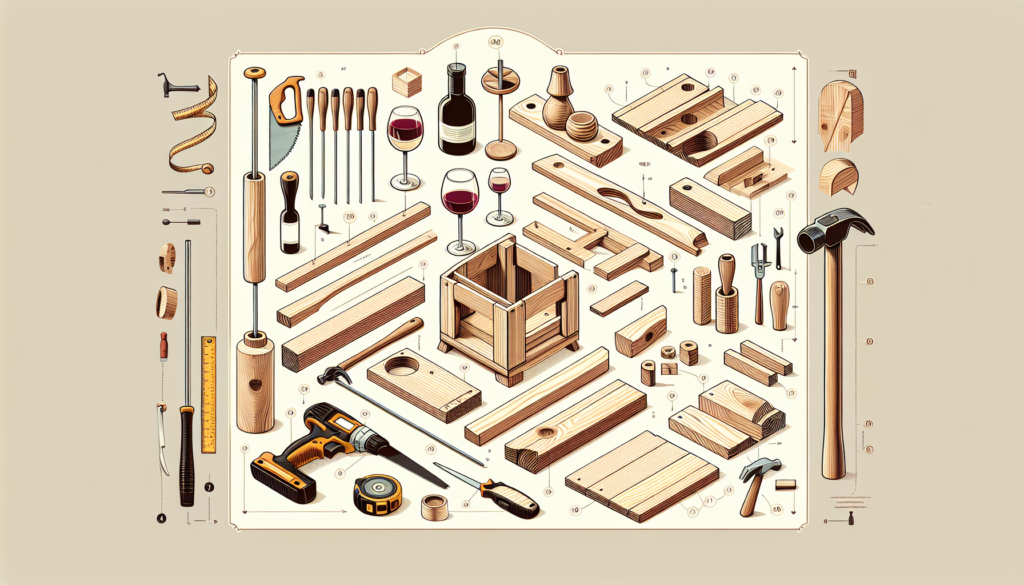
To create your own wooden wine holder, you’ll need the following materials and tools:
Choosing the Right Wood
The first step in creating a wooden wine holder is choosing the right type of wood. You’ll want to select a wood that is sturdy and durable, such as oak or birch. These types of wood will provide the necessary strength to hold the weight of multiple wine bottles. Additionally, consider the aesthetics of the wood and choose a grain pattern that you find visually appealing.
Gathering the Necessary Tools
Once you have decided on the type of wood, it’s time to gather the necessary tools for the project. Some tools you may need include a jigsaw or bandsaw for cutting the wood, a drill for drilling holes, sandpaper for smoothing the edges, clamps for holding the wood in place, and various measuring tools such as a tape measure and ruler. Make sure you have all the tools you need before starting the project to ensure a smooth process.
Designing the Wine Holder
Before you begin cutting and shaping the wood, it’s important to carefully plan and design your wine holder. Consider the size and shape of the holder based on the amount of wine bottles you want it to hold and the available space in your home.
Determining the Size and Shape
Think about how many wine bottles you want your holder to accommodate and take measurements to determine the appropriate size. Additionally, consider the available space where you plan to place the wine holder and ensure that it fits comfortably in that area.
Sketching the Design
It’s helpful to sketch out your design on paper to visualize how it will look once completed. Experiment with different shapes and patterns until you find one that you are satisfied with. This will guide your cutting and shaping process.
Calculating Measurements
Use your sketches to calculate the specific measurements needed for each component of the wine holder. This includes the length, width, and height of the base, as well as the spacing between the holes for wine bottles and the wine glass holders. Taking accurate measurements will ensure that all the pieces fit together properly.
Cutting and Shaping the Wood
Now comes the fun part – cutting and shaping the wood to bring your wine holder to life.
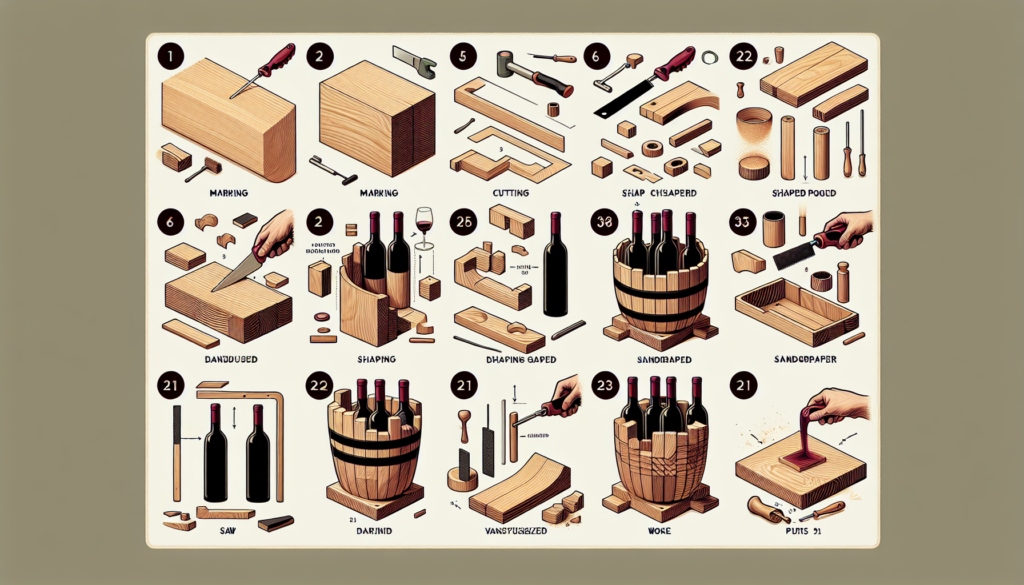
Marking the Wood
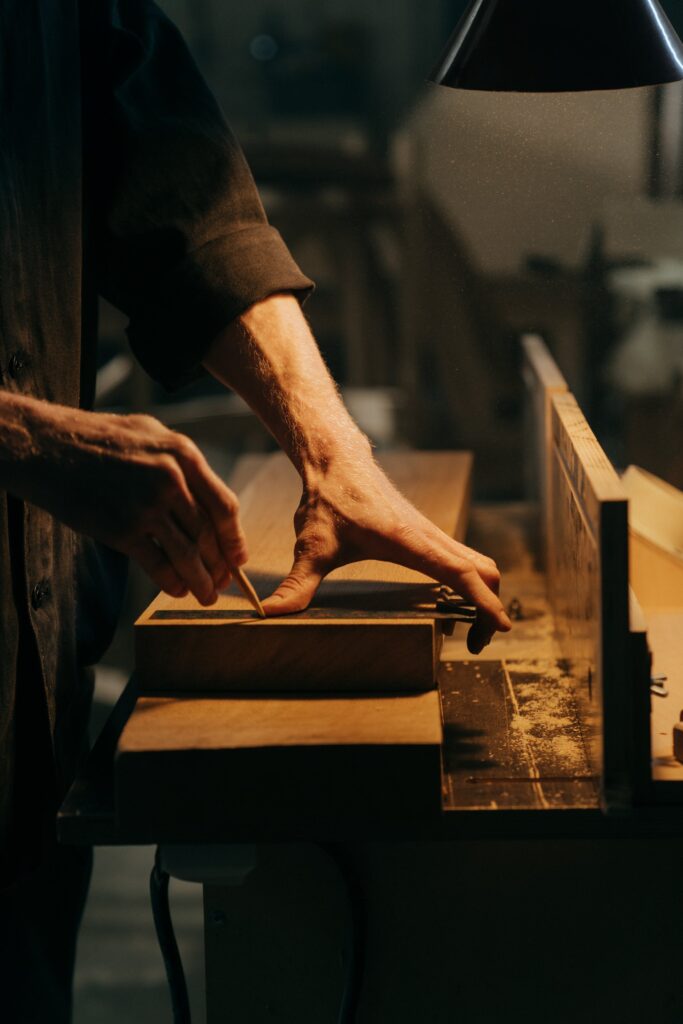
Before you start cutting, mark the wood with a pencil or marker to indicate where each piece should be cut. This will help ensure that you make accurate cuts and prevent any mistakes.
Using a Jigsaw or Bandsaw to Cut
Using a jigsaw or bandsaw, carefully cut along the marked lines to shape each piece of wood. Take your time and make steady, precise cuts to avoid any splintering or damage to the wood.
Creating Angled Cuts
If your design includes angled edges or cuts, use a miter saw or table saw to create these angles. Measure and mark the desired angles on the wood, then carefully cut along the marked lines.
Making Curved Edges
To create curved edges, you can use either a jigsaw or a bandsaw, depending on your preference and the complexity of the curves. Use a pencil or compass to mark the desired curve on the wood, then carefully cut along the marked line.
Sanding the Wood
Once all the pieces have been cut and shaped, it’s important to sand the wood to smooth any rough edges or surfaces. Start with a coarse-grit sandpaper and gradually move to finer grits for a polished finish.
Applying a Wood Finish
After sanding, you may choose to apply a wood finish to enhance the appearance and protect the wood. This can be done using a brush or cloth, applying the finish evenly and following the manufacturer’s instructions. Allow the finish to dry completely before moving on to the next step.
Assembling the Wine Holder
With all the pieces cut and shaped, it’s time to assemble your wooden wine holder.
Drilling Holes for Wine Bottles
Using a drill and an appropriately sized drill bit, carefully drill holes in the base of the wine holder to accommodate the necks of the wine bottles. Make sure the holes are evenly spaced and aligned for a neat and symmetrical appearance.
Attaching the Base
Using screws or wood glue, attach the base of the wine holder to the rest of the structure. Take care to align the pieces properly and secure them tightly to ensure stability.
Adding Support Pieces
To reinforce the structure of the wine holder, you can add support pieces. These can be attached vertically or horizontally, depending on your design. Use screws or wood glue to secure them in place.
Installing Wine Glass Holders
If you want to include space for wine glass storage, you can install wine glass holders. These can be created by cutting slots or holes in the wood pieces, allowing the stems of the glasses to slide in. Make sure the holders are securely attached and spaced appropriately for your glasses.
Securing the Structure
Before considering your wine holder complete, double-check that all the pieces are securely attached and the structure is stable. If needed, tighten any screws or add additional support to ensure the wine holder can safely hold the weight of the wine bottles and glasses.
Personalizing the Wine Holder
Once the basic structure of your wine holder is finished, you can add personalized touches to make it unique and reflective of your personal style.
Adding Decorative Elements
Consider adding decorative elements such as metal accents, rope handles, or carved designs to enhance the aesthetic appeal of your wine holder. These small additions can make a big difference in the overall visual impact of the piece.
Carving or Engraving
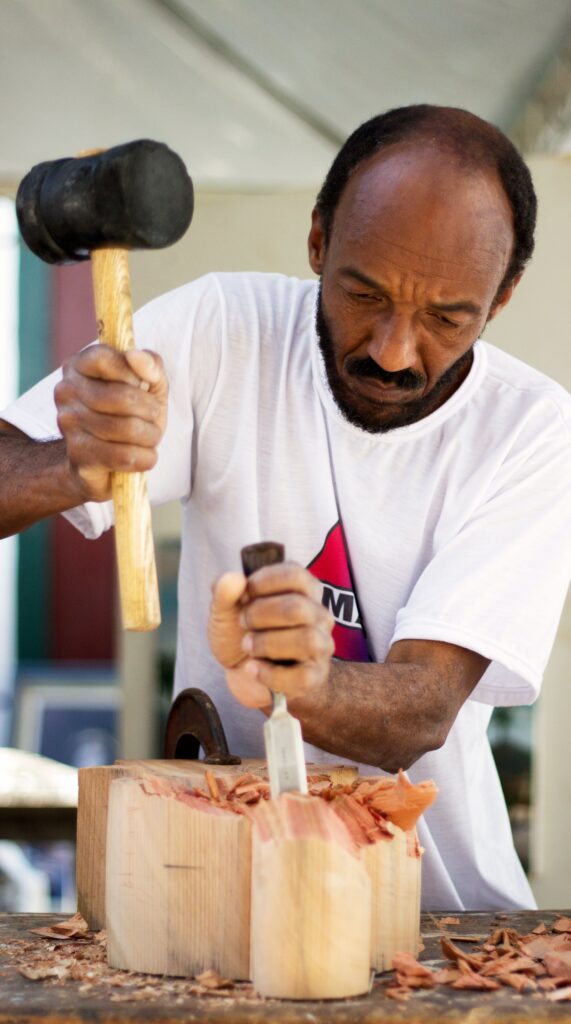
If you have woodworking skills, you can carve or engrave intricate designs or patterns into the wood. This allows you to add a personal touch and showcase your craftsmanship.
Painting or Staining
Another way to personalize your wine holder is by applying paint or stain. Choose colors that complement your home decor or opt for a natural wood stain to enhance the beauty of the wood grain. Apply multiple coats for a smooth and even finish.
Applying Varnish or Sealant
To protect the wood and give it a glossy finish, consider applying a varnish or sealant. This will help prevent moisture damage and keep your wine holder looking its best for years to come.
Tips and Safety Precautions
When working with wood and tools, it’s important to prioritize safety and take some precautions to ensure a smooth and accident-free process.
Wearing Protective Gear
Always wear appropriate protective gear, including safety goggles, gloves, and a mask, to protect yourself from debris, dust, and fumes.
Using Clamps and Guides
Use clamps and guides to secure the wood in place while cutting or shaping. This will provide stability and prevent accidents caused by slipping or movement.
Taking Measurements Accurately
Accurate measurements are crucial for a successful project. Use a tape measure or ruler and double-check your measurements before making any cuts or attaching pieces together.
Using Sharp Tools Safely
When using sharp tools such as saws or drills, be mindful of your technique and follow safety guidelines. Keep your fingers and hands clear of the cutting edges and always read and understand the manufacturer’s instructions for each tool.
Choosing Non-Toxic Finishes
If you plan to use finishes on your wine holder, opt for non-toxic and eco-friendly products. This ensures the safety of both you and the environment.
Variations and Enhancements
If you’re feeling adventurous and want to take your wine holder to the next level, consider experimenting with some variations and enhancements.
Creating a Wall-Mounted Wine Holder
Instead of a standalone wine holder, you can create a wall-mounted version. This saves space and adds a unique visual element to your home decor.
Building a Countertop Wine Rack
If you prefer to keep your wine holder on the kitchen counter or bar, consider building a countertop wine rack. This allows for easy access to your favorite bottles and adds a stylish touch to your countertop.
Incorporating Wine Glass Storage
To keep your wine glasses within easy reach, you can incorporate wine glass storage into your wine holder design. This ensures that everything you need for a perfect evening is conveniently stored in one place.
Adding a Wine Opener Attachment
For the wine enthusiast, adding a wine opener attachment to your wine holder can be a practical and convenient enhancement. This eliminates the need to search for a wine opener every time you want to enjoy a bottle.
Experimenting with Unique Designs
Let your creativity flow and experiment with unique designs. Whether it’s incorporating unconventional shapes or using different types of wood, don’t be afraid to think outside the box and create a wine holder that stands out.
Maintenance and Care
To ensure your wooden wine holder stands the test of time, it’s important to provide regular maintenance and care.
Regular Dusting and Cleaning
Keep your wine holder dust-free by regularly dusting it with a soft cloth or a feather duster. If spills or stains occur, clean them up promptly using a damp cloth and mild soap, but avoid excessive exposure to water.
Avoiding Water Exposure
Wood is susceptible to damage from water, so it’s essential to avoid exposing your wine holder to excessive moisture. Keep it away from areas prone to spills or high humidity, such as near sinks or windows.
Periodic Inspection and Repairs
Every few months, inspect your wine holder for any signs of damage or wear. Check for loose screws, cracks, or warping, and repair any issues promptly to prevent further damage.
Reapplying Wood Finish as Needed
If you notice that the wood finish on your wine holder is wearing off or becoming dull, reapply the finish as needed. This will help maintain the appearance and protect the wood from moisture.
Using Your Wooden Wine Holder
Now that your wooden wine holder is complete, it’s time to put it to use and enjoy the convenience it provides.
Choosing the Right Location
Select a suitable location for your wine holder, considering factors such as accessibility, stability, and aesthetics. Choose a spot where you can easily reach your wine bottles and glasses while ensuring that the holder is stable and secure.
Properly Placing Wine Bottles
When placing wine bottles in the holder, make sure to position them securely and evenly, so they don’t tip over or collide with each other. This will help prevent any accidents or damage to your precious bottles.
Storing Wine Glasses
If your wine holder includes wine glass storage, take care when placing the glasses. Slide the stems of the glasses into the designated slots or holders, ensuring they are stable and won’t fall out.
Displaying and Organizing
Consider using your wine holder not only as a functional storage solution but also as a decorative element in your home. Arrange the bottles and glasses in an appealing and organized manner, creating an eye-catching display.
Enjoying the Convenience
Now that your wine holder is set up and your wine collection is within easy reach, take a moment to appreciate the convenience it brings to your wine-drinking experience. Sit back, relax, and enjoy your favorite bottle of wine anytime you desire.
Conclusion
By creating your own wooden wine holder, you’ve not only crafted a functional and stylish addition to your home decor but also embarked on an enjoyable DIY experience. Showcasing your handcrafted wine holder allows you to proudly display your woodworking skills while expressing your personal style. So raise a glass to your creativity and craftsmanship, and enjoy the satisfaction of knowing you created something truly unique. Cheers!
