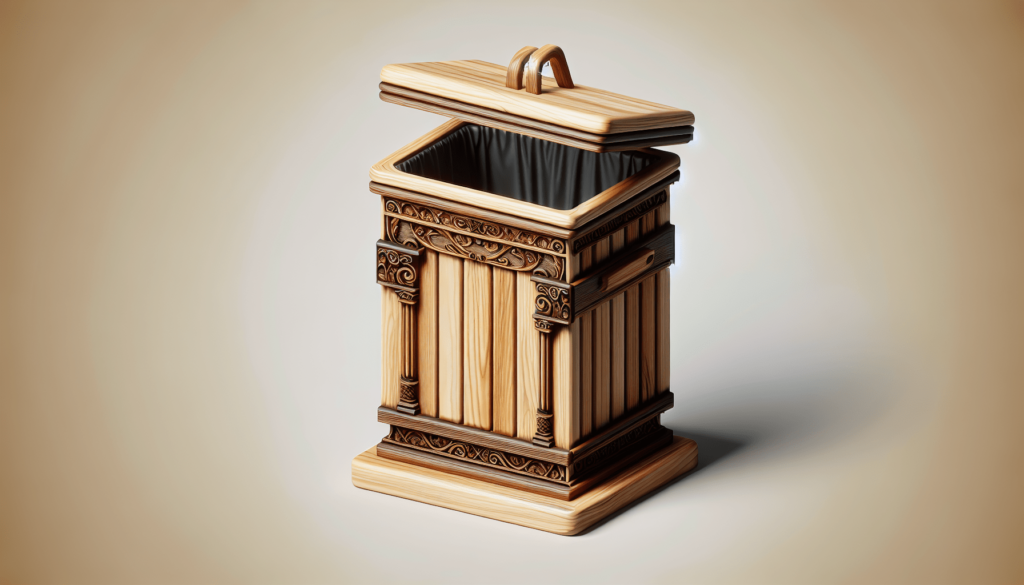
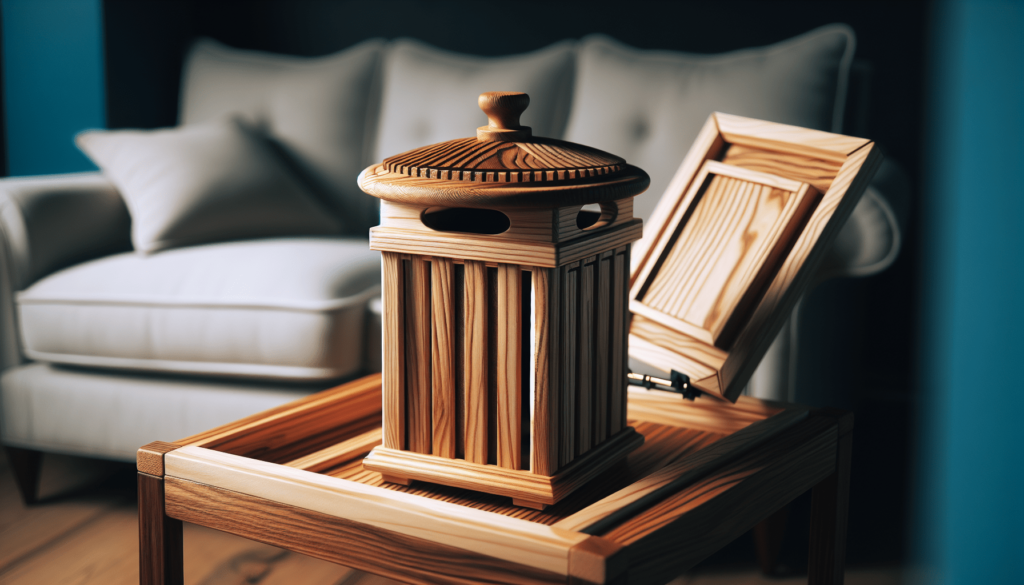
Are you tired of looking at your plain old plastic trash can? Are you in need of a fun and practical woodworking project to tackle? Look no further! In this article, we will show you how to build your very own woodworking DIY trash can. With just a few simple tools and materials, you can create a unique and stylish trash can that will add a touch of charm to any room. So grab your saw and get ready to bring your woodworking skills to the next level!

Materials
To build a woodworking DIY trash can, you will need the following materials:
Wood planks
Wood planks are the main material for constructing the trash can. Choose a type of wood that is durable and resistant to moisture. Popular options include pine, oak, and cedar.
Wood glue
Wood glue is essential for joining the pieces of wood together. Look for a high-quality wood glue that provides a strong bond and dries clear.
Screws
Screws are necessary for securing the various components of the trash can, such as attaching the sides to the bottom piece and adding handles or hinges. Use screws that are suitable for woodworking projects and are strong enough to hold the weight of the trash can.
Nails
Nails can also be used for assembly, particularly for attaching the sides to the bottom piece. Choose nails that are appropriate for the thickness of your wood planks and that will provide a secure hold.
Hammer
A hammer will be needed for driving in the nails during assembly. Select a hammer that feels comfortable in your hand and has a sturdy head for effective pounding.
Jigsaw
A jigsaw is essential for cutting the sides, bottom piece, and lid of the trash can. Make sure you have a jigsaw with a sharp blade suitable for cutting through wood.
Measuring tape
Accurate measurements are crucial when building a trash can. Use a measuring tape to determine the dimensions of the sides, bottom piece, and lid. This will ensure that all the components fit together properly.
Drill
A drill will be needed for making holes, particularly when attaching handles or hinges. Make sure you have the appropriate drill bits for your screws and other hardware.
Sandpaper
Sandpaper is essential for achieving a smooth finish on the wood. Choose sandpaper with different grits, starting with a rougher grit for initial sanding and progressively moving to finer grits for a smoother surface.
Paint or stain
Lastly, you will need paint or stain to beautify and protect your trash can. Consider using a paint or stain that is specifically designed for outdoor use and is resistant to moisture and UV rays. Select a color that matches your personal style or complements your outdoor space.
Planning
Before diving into the construction process, it is important to plan your woodworking DIY trash can project thoroughly. Follow these steps to ensure a successful build:
Choose the size
Consider the amount of space you have available for the trash can and the amount of waste you generate. Based on these factors, decide on the appropriate size for your trash can. Remember to take into account height, width, and depth.
Determine the design
Think about the overall design and aesthetics you want for your trash can. Would you prefer a simple and minimalist design or something more decorative and ornate? Consider how the trash can will fit into your outdoor space and complement its surroundings.
Decide on the lid option
Trash cans can have various lid options, such as a hinged lid, a removable lid, or a foot pedal-operated lid. Consider your preferences and practicality when choosing the type of lid for your trash can.
Measure and mark the dimensions
Once you have determined the size, design, and lid option, use a measuring tape to accurately measure and mark the dimensions on your wood planks. Double-check your measurements to ensure accuracy before proceeding to the cutting stage.
Cutting the Wood
Once you have planned your woodworking DIY trash can project and marked the dimensions, it’s time to cut the wood into the necessary pieces. Follow these guidelines for precise cuts:
Use a jigsaw to cut the sides
Using the marked dimensions, carefully cut out the side pieces of the trash can using a jigsaw. Take your time and make precise cuts to ensure the pieces fit together properly during assembly.
Cut the bottom piece
Using the same technique as cutting the sides, use a jigsaw to cut the bottom piece of the trash can. Be mindful of the measurements to ensure a snug fit when attaching the sides.
Create the lid
If you have chosen a lid option that requires a separate lid piece, use the jigsaw to cut out the lid according to the dimensions you marked. It’s important to make accurate cuts to ensure a proper fit.
Additional cuts for handles or hinges
If you plan to add handles or hinges to your trash can, make additional cuts in the appropriate locations using a jigsaw. These cuts should be precise to ensure a secure attachment of the handles or hinges during assembly.
Assembly
Now that you have the necessary wooden pieces cut, it’s time to assemble your woodworking DIY trash can. Follow these steps for a sturdy and durable construction:
Attach the sides to the bottom piece
Begin by attaching the side pieces to the bottom piece of the trash can. Apply wood glue to the edges of the bottom piece and carefully position the side pieces against it. Use screws or nails to secure the sides in place. Make sure the corners are square and the edges are aligned.
Secure the corners with screws or nails
To reinforce the corners of the trash can and ensure stability, use screws or nails to secure the sides together at the corners. This will provide additional strength and durability to the overall structure.
Attach handles or hinges
If you have chosen to add handles or hinges to your trash can, now is the time to attach them. Use screws or nails to securely fasten the handles or hinges in the designated locations. Double-check their alignment and sturdiness before proceeding.
Add additional supports if necessary
Depending on the size and design of your trash can, you may need to add additional supports to strengthen the structure. This can be achieved by attaching additional pieces of wood, such as cross-braces or corner brackets. Ensure these supports are securely fastened to the existing structure for optimal stability.

Finishing Touches
To give your woodworking DIY trash can a polished and professional look, consider adding some finishing touches. Follow these steps to achieve a visually appealing and durable result:
Sand the surfaces for a smooth finish
Using sandpaper, carefully sand all the surfaces of the wood to achieve a smooth finish. Start with a rougher grit sandpaper to remove any rough edges or imperfections, and then progress to finer grits for a smoother surface.
Apply wood glue to strengthen joints
To strengthen the joints and ensure long-lasting durability, consider applying wood glue to the connections between the wood pieces. This will provide added stability and prevent any potential wobbling or loosening over time.
Fill any gaps or cracks with wood putty
If you notice any gaps or cracks in the wood, use wood putty to fill them in. Smooth out the putty with a putty knife and allow it to dry before sanding it down for an even surface.
Sand again for an even surface
After applying wood glue and filling any gaps, sand the surfaces of the trash can again to achieve an even and seamless finish. This step is essential for creating a polished and professional look.
Choose a paint or stain color
Now comes the fun part – choosing a paint or stain color for your trash can. Consider the aesthetics of your outdoor space and select a color that complements it. If you prefer a natural look, opt for a stain that enhances the beauty of the wood grain.
Apply paint or stain evenly
Using a brush or roller, apply the chosen paint or stain evenly to all the surfaces of the trash can. Follow the manufacturer’s instructions for application, including drying times and the number of coats required. Ensure that each coat is dry before applying the next.
Allow it to dry completely
Once you have finished applying the paint or stain, allow the trash can to dry completely before using it or placing it in its designated outdoor space. This will ensure a durable and long-lasting finish.
Functional Features
To make your woodworking DIY trash can more functional and convenient, consider adding some additional features. Here are a few ideas to enhance its functionality:
Install a removable interior lining
Adding a removable interior lining will make it easier to clean the trash can and prevent leakages. Choose a liner that is sturdy and waterproof, such as a plastic bag or a custom-made fabric lining.
Add a foot pedal for hands-free opening
If you want to make the trash can more hygienic and convenient, consider adding a foot pedal mechanism for hands-free opening. This feature allows you to open the lid without touching it, preventing the spread of germs and making it easier to dispose of waste.
Attach a mechanism for lid opening
For trash cans with hinged lids, you can attach a mechanism that allows the lid to open smoothly and close securely. Consider using a spring-loaded hinge or hydraulic hinge for effortless lid operation.
Include a compartment for recycling
If you separate your waste for recycling, consider incorporating a separate compartment within the trash can for recyclable items. This will help you stay organized and promote sustainable waste management.

Placement and Maintenance
Once your woodworking DIY trash can is complete, it’s important to consider its placement and maintenance for optimal functionality and longevity. Follow these guidelines:
Find a suitable location for the trash can
Choose a suitable location for your trash can that is easily accessible and strategically placed to facilitate waste disposal. Consider factors such as convenience, aesthetics, and proximity to your house or outdoor area.
Ensure proper ventilation
To prevent unpleasant odors and mold growth, ensure that your trash can has proper ventilation. This can be achieved by incorporating ventilation holes or gaps in the design. Additionally, regularly empty and clean the trash can to maintain freshness.
Regularly clean and disinfect the interior
To keep your trash can hygienic and odor-free, regularly clean and disinfect the interior. Remove and clean the removable interior lining (if applicable) and use a mild detergent or disinfectant to thoroughly clean the surfaces. Rinse and allow the trash can to dry before using it again.
Maintain the exterior with touch-ups as needed
Over time, the exterior of your trash can may experience wear and tear. Regularly inspect the paint or stain finish for any chips or fading. Touch up these areas as needed to maintain the aesthetic appeal and protect the wood from moisture or UV damage.
Handle with care to avoid damage
When handling your woodworking DIY trash can, take care to avoid dropping it or causing any impact damage. The wood may be susceptible to dents or scratches, so handle with caution to ensure its longevity.
Safety Precautions
Working with woodworking tools and materials requires some safety precautions to protect yourself and others. Keep these guidelines in mind:
Wear protective gear like goggles and gloves
When using power tools or handling wood, wear protective gear such as safety goggles and gloves to protect your eyes and hands from potential injury or splinters.
Use power tools carefully and follow instructions
Handle power tools with caution and follow the manufacturer’s instructions for safe operation. Be mindful of your surroundings, keep your fingers away from the blade or moving parts, and use the appropriate safety guards.
Keep children and pets away from the construction area
To ensure the safety of children and pets, keep them away from the construction area while you are working. Use caution when storing tools and materials, and avoid leaving them within reach of curious hands or paws.

Customization Ideas
Personalizing your woodworking DIY trash can allows you to showcase your creativity and add unique features. Consider these customization ideas:
Add decorative carvings or engravings
Enhance the visual appeal of your trash can by adding decorative carvings or engravings to the wood. This can be as simple as patterns or designs, or even personalized initials or a family name.
Attach hooks for hanging tools or bags
Make your trash can more versatile by attaching hooks to the exterior. These can be used for hanging cleaning tools or bags for additional storage options.
Incorporate a compartment for composting
If you are passionate about composting, consider incorporating a separate compartment within the trash can specifically for compostable waste. This will make it easier to collect and dispose of organic matter.
Personalize with a name or design
Add a personal touch to your woodworking DIY trash can by personalizing it with your name or a design that reflects your personality or interests. This can be accomplished using stencils, paint, or even wooden letters or cutouts.
Sustainability Considerations
When building a woodworking DIY trash can, it’s important to consider sustainability and make eco-friendly choices. Keep these sustainability considerations in mind:
Choose responsibly sourced wood
Opt for wood that is sustainably and responsibly sourced. Look for certifications such as FSC (Forest Stewardship Council) that ensure the wood has been harvested in an environmentally friendly and socially responsible manner.
Opt for non-toxic paints or stains
When selecting paint or stain for your trash can, choose products that are non-toxic and environmentally friendly. Look for low VOC (volatile organic compound) options to minimize air pollution and negative health effects.
Make the trash can durable for long-term use
Build your trash can with high-quality materials and construction techniques to ensure its durability and longevity. This will reduce the need for frequent replacements and contribute to waste reduction.
Consider upcycling materials for construction
To further minimize waste and promote sustainability, consider upcycling materials for the construction of your trash can. For example, repurpose old wooden pallets or salvaged wood to create a unique and eco-friendly piece.
By following these steps and considering the various aspects of building a woodworking DIY trash can, you can create a functional, aesthetically pleasing, and sustainable addition to your outdoor space. Enjoy the process of building and personalizing your trash can, and take pride in your environmentally conscious effort.


