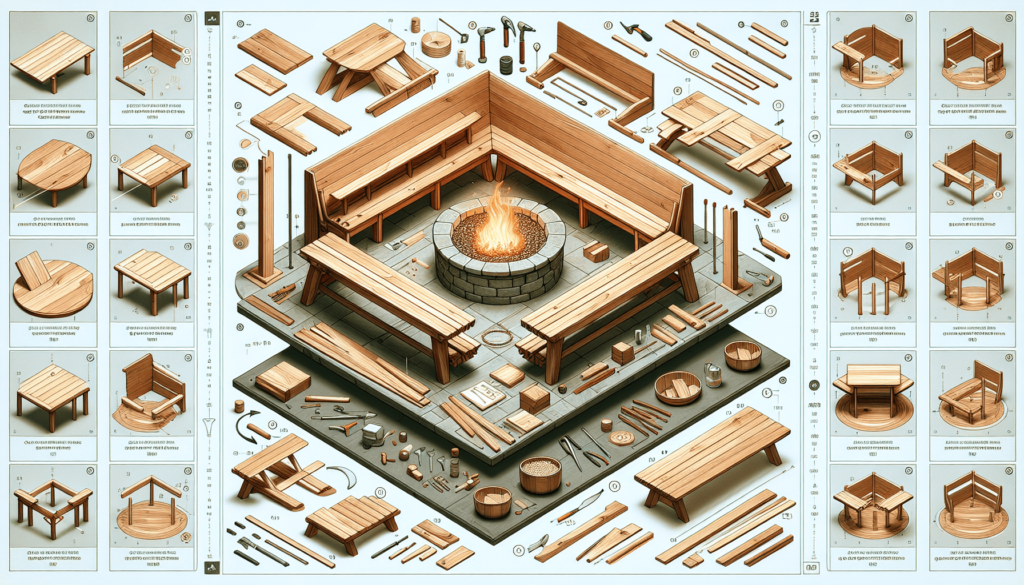
“Welcome to our latest DIY endeavor: How to Craft a Stunning Wooden Fire Pit Bench! If you’ve ever dreamt of elevating your backyard into a more inviting, warm, and stylish space, then you’re in the right place. Whether you’re a seasoned craftsman or dipping your toes into the world of DIY woodworking for the first time, this project promises not just to challenge and hone your skills, but also to leave you with a beautiful, functional piece of outdoor furniture that you can take pride in.
This guide will walk you through every step of the process, from selecting the right materials to the finishing touches that will withstand the elements and the test of time. We’ll cover design considerations to ensure your bench not only looks great but is comfortable and functional. We’ll delve into the tools you’ll need, offering tips for both beginners and more advanced woodworkers to make the process as smooth as possible.
Moreover, we’ll explore customization options that allow you to tailor your fire pit bench to your personal style and the specific needs of your outdoor space. From choosing the right type of wood that complements your backyard’s aesthetic to selecting finishes that enhance durability and longevity, every detail matters in making your wooden fire pit bench not just a piece of furniture, but a cherished addition to your home.
So, let’s roll up our sleeves, gather our tools, and embark on this fantastic DIY adventure together. With a bit of patience, creativity, and this guide by your side, you’re well on your way to crafting a stunning wooden fire pit bench that will become the heart of your outdoor gatherings for years to come. Let’s get started!”
Materials Needed
To build a wooden fire pit bench, you will need the following materials:
Wood
The type of wood you choose will depend on your personal preference and the overall aesthetic you are looking to achieve. Cedar, teak, and redwood are popular choices for outdoor furniture as they are naturally resistant to rot and decay.
Measuring Tape
A measuring tape will come in handy for accurately measuring the dimensions of your fire pit area and ensuring that your bench fits perfectly.
Circular Saw
A circular saw is essential for cutting the wood pieces to the correct size and shape. It allows for precise and straight cuts, making your bench look professional and well-crafted.
Drill
A drill will be used to create pilot holes for the screws, ensuring that the wood does not split when assembling the bench.
Screws
Screws are necessary for joining the different wood pieces together. Make sure to choose screws that are suitable for outdoor use to withstand the elements.
Sandpaper
Sandpaper is needed to smooth out any rough edges or imperfections in the wood. It helps create a polished and splinter-free surface for a comfortable seating experience.
Paint or Stain
You may choose to paint or stain the bench to enhance its appearance and protect it from weathering. Paint adds color and creativity, while stain enhances the natural beauty of the wood.
Paintbrush
A paintbrush will be required if you decide to apply paint or stain on your bench. Make sure to use a brush suitable for outdoor projects to ensure even and smooth coverage.
Safety Equipment
When working with power tools and chemicals, it is important to prioritize safety. Ensure you have protective gear such as safety glasses, gloves, and a dust mask to protect yourself.
Step 1: Determine the Size and Design of Your Wooden Fire Pit Bench
Measure the Area
Before starting your project, measure the area where you plan to place the bench. This will help you determine the dimensions and ensure a proper fit.
Decide on the Bench Style
Consider the overall style and design you want for your bench. Choose from options such as a straight bench, a curved bench, or an L-shaped bench. Think about how the bench will complement your fire pit area and outdoor space.
Choose the Wood Type
Selecting the right type of wood is crucial for the durability and aesthetics of your bench. Cedar offers natural resistance to decay and insects, making it an excellent choice. Teak and redwood are also popular due to their durability and beauty.

Step 2: Prepare the Wood
Cut the Wood Pieces
Using a circular saw, cut the wood pieces according to the measurements you took earlier. Make sure to follow the design you decided on while cutting the legs, seat, and backrest.
Sand the Edges
After cutting the wood pieces, use sandpaper to smooth out any rough edges. Pay attention to the seat and backrest edges, as comfort is essential for an enjoyable seating experience.
Apply Paint or Stain
This step is optional but highly recommended. Applying paint or stain not only enhances the appearance of your bench but also provides protection against moisture and UV damage. Use a paintbrush to evenly apply the paint or stain and let it dry completely before proceeding.
Step 3: Assemble the Bench
Drill Pilot Holes
Using a drill, create pilot holes in the wood pieces. These holes will prevent the wood from splitting when screws are inserted.
Attach the Legs
Start by attaching the legs to the seat base. Position the legs at the corners or edges of the seat, depending on the design you chose. Use screws to securely fasten the legs to the seat.
Attach the Seat and Backrest
Once the legs are securely attached, it’s time to connect the seat and backrest. Align the pieces and use screws to join them together. Make sure everything is straight and level before tightening the screws.

Step 4: Finishing Touches
Sand the Bench
After assembling the bench, give it a final sanding to smooth out any rough spots or imperfections that may have appeared during assembly. This step ensures a comfortable seating surface and a polished look.
Apply Final Paint or Stain
If you haven’t already, now is the time to apply the final coat of paint or stain. Make sure to cover all surfaces evenly, paying extra attention to the areas that will be exposed to the elements. Allow the paint or stain to dry completely according to the manufacturer’s instructions.
Add Cushions or Pillows
To make your fire pit bench even more comfortable and inviting, consider adding cushions or pillows. Choose weather-resistant fabrics that can withstand outdoor conditions and complement the colors or patterns in your outdoor space.
Safety Considerations
Wear Protective Gear
When working with power tools and chemicals, it is crucial to prioritize safety. Always wear safety glasses, gloves, and a dust mask to protect yourself from potential hazards.
Work in a Well-Ventilated Area
Ensure that you work in a well-ventilated area to minimize the inhalation of dust particles and fumes. If working indoors, open windows and use fans to improve air circulation.
Follow Tool and Material Safety Guidelines
Before using any power tools, familiarize yourself with the manufacturer’s instructions and safety guidelines. Use the appropriate safety guards and follow proper handling techniques to avoid accidents or injuries.
Maintenance Tips
Regularly Clean the Bench
To keep your wooden fire pit bench looking its best, regularly clean it using a mild soap and water solution. Gently scrub the surface with a soft brush or sponge and rinse thoroughly. Avoid using harsh chemicals or abrasive materials that may damage the wood.
Apply Protective Coating
Applying a protective coating to your bench will help extend its lifespan and maintain its appearance. Every few years, consider applying a fresh coat of paint or stain to protect the wood from moisture, UV rays, and other outdoor elements.
Store the Bench Properly during Winter
If you live in an area with harsh winter conditions, it is important to properly store your wooden fire pit bench to prevent damage. Store it in a dry and sheltered area, such as a garage or shed, to protect it from snow, ice, and freezing temperatures.
Cost and Time Estimate
Budgeting Materials
The cost of building a wooden fire pit bench can vary depending on the wood type, size, and design you choose. However, as a rough estimate, you can expect to spend between $100 to $500 on materials.
Time Commitment
The time required to build a wooden fire pit bench will depend on your skill level and the complexity of the design. On average, it may take anywhere from a few hours to a full weekend to complete the project.
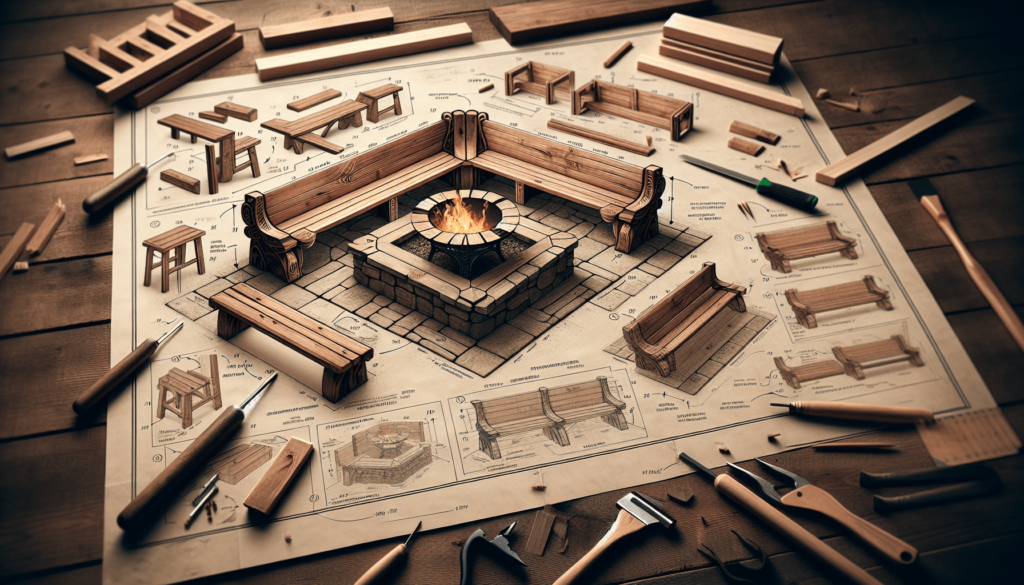
Additional Design Ideas
Add Armrests
If you want to enhance the comfort and aesthetics of your wooden fire pit bench, consider adding armrests. Armrests not only provide a place to rest your arms but also add a stylish and finished look to the bench.
Incorporate Storage Space
To make the most of your outdoor seating area, consider incorporating storage space into your wooden fire pit bench design. Adding compartments or drawers underneath the bench can provide a convenient solution for storing outdoor cushions, blankets, or fire pit accessories.
Integrate Built-in Lighting
For a truly unique and functional wooden fire pit bench, consider integrating built-in lighting. LED lights or solar-powered lamps installed along the bench can create an inviting ambiance and make your outdoor space feel cozy and magical, especially during evening gatherings.
Conclusion
Building a wooden fire pit bench is a rewarding and enjoyable DIY project that allows you to customize your outdoor space. By following the steps outlined in this article, you can create a beautiful and functional bench that enhances your fire pit area. Remember to prioritize safety, choose quality materials, and take your time during the construction process. Once completed, sit back, relax, and enjoy your new bench while making lasting memories around the fire pit.
