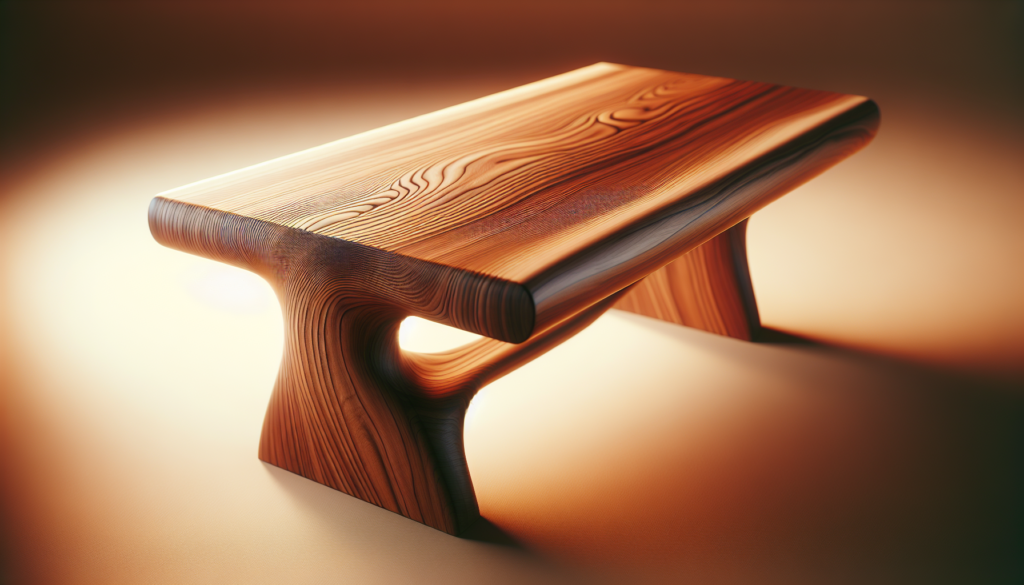
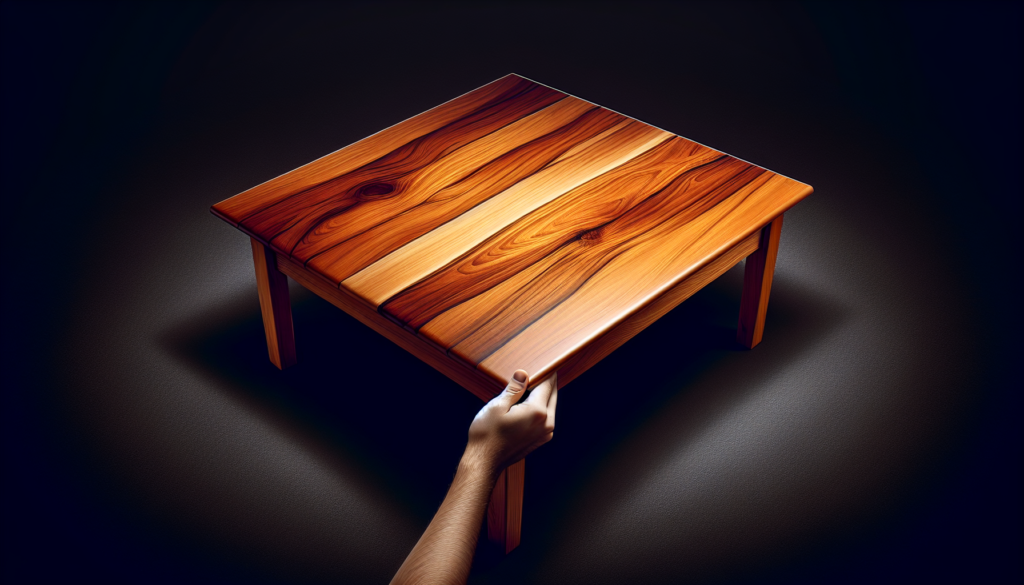
So, you’re ready to embark on a woodworking adventure and create your very own basic wooden table? Whether you’re a seasoned craftsman or just starting out, this article will guide you through the step-by-step process of bringing your vision to life. From selecting the right wood to assembling the perfect table, we’ll cover everything you need to know to create a beautiful and functional piece for your home. Get your tools ready and let’s get started on this exciting DIY project together!

Choosing the Right Wood
When making a basic wooden table, one of the most important considerations is choosing the right wood. The type of wood you choose will determine the overall look and durability of your table.
Consider the Purpose
Before you start selecting wood, think about the purpose of your table. Will it be used as a dining table, a coffee table, or a desk? Different purposes may require different types of wood. For example, if you’re building a dining table that will be subjected to heavy use, you’ll want to choose a hardwood like oak or maple that can withstand frequent wear and tear.
Understand Wood Types
Once you have determined the purpose of your table, it’s time to understand the different types of wood available. Hardwoods, such as oak, maple, and cherry, are known for their durability and attractive grain patterns. Softwoods, like pine and cedar, are easier to work with and may be more budget-friendly, but they may not be as durable as hardwoods.
Evaluate Durability
Durability is a crucial factor when selecting wood for your table. Consider the environment in which your table will be placed. Will it be exposed to moisture or sunlight? If so, you’ll want to choose a wood that can withstand these conditions. Hardwoods are generally more resistant to damage from moisture and sunlight compared to softwoods.
Check Availability
Lastly, consider the availability of the wood you’re considering. Some types of wood may be readily available at local home improvement stores, while others may require a special order or a trip to a specialty lumberyard. It’s important to choose a wood that you can easily source to ensure a smooth construction process.
Gathering Materials and Tools
Now that you have chosen the right wood for your table, it’s time to gather the necessary materials and tools.
Materials Needed
Here are the basic materials you will need to make a wooden table:
- Wood planks for the tabletop
- Wood for the table legs
- Wood glue
- Screws
- Wood stain or paint
- Varnish or wax for sealing the finish
- Sandpaper
Tools Required
To construct your wooden table, you will need the following tools:
- Measuring tape
- Circular saw or handsaw
- Power drill or screwdriver
- Clamps
- Chisels (optional, for smoothing edges)
- Sanding block or electric sander
- Paintbrush or foam brush for applying finish
Preparing the Wood
Before you start assembling your table, it’s important to prepare the wood properly.
Measuring and Cutting
Start by measuring and marking the dimensions for your tabletop and table legs. Use a measuring tape and a straight edge to ensure accurate measurements. Once your measurements are marked, carefully cut the wood using a circular saw or handsaw. Take your time to make clean, straight cuts.
Sanding
After cutting the wood, sand each piece to smooth out any rough edges or imperfections. Start with a coarse grit sandpaper to remove any splinters or rough spots, and gradually work your way up to a finer grit to achieve a smooth finish.
Smoothing Edges
To give your table a professional finish, consider using a chisel to smooth the edges of the tabletop and legs. This step is optional but can greatly enhance the overall look of your table.
Drilling Holes
If your table design requires additional joinery, such as attaching the tabletop to the legs or adding support braces, you may need to drill holes. Use the appropriate drill bit size for your screws to ensure a secure fit.
Assembling the Tabletop
Now that your wood is prepared, it’s time to assemble the tabletop.
Arranging the Planks
Lay out your wood planks on a flat surface in the desired pattern for your tabletop. Take the time to arrange them in an aesthetically pleasing way, ensuring that the grain patterns flow smoothly from one plank to another.
Applying Wood Glue
Once you are satisfied with the arrangement, apply a generous amount of wood glue to the edges of each plank. Make sure to spread the glue evenly to ensure a strong bond.
Clamping the Planks
After applying the wood glue, carefully align the planks together, pressing them firmly. Secure the planks together using clamps. Place the clamps at regular intervals across the width of the tabletop to ensure even pressure distribution.
Securing with Screws
To further reinforce the tabletop, you may choose to secure the planks with screws. Pre-drill holes along the length of the planks and countersink the screw heads. Then, carefully drive screws through the holes to join the planks together. This step will add stability and longevity to your table.

Building the Table Legs
Next, it’s time to build the table legs.
Cutting Leg Pieces
Measure and mark the dimensions for your table legs on the wood. Use a circular saw or handsaw to cut the leg pieces to the desired length. Make sure to double-check your measurements before cutting to ensure accuracy.
Creating Leg Supports
To add stability to your table, consider creating leg supports. These can be in the form of cross braces or diagonal supports that connect the legs together. Measure and cut additional pieces of wood to create these supports.
Attaching Legs to Tabletop
Once you have cut the leg pieces and created the leg supports, it’s time to attach the legs to the tabletop. Position the legs at each corner or at regular intervals along the length of the table, depending on your design. Use screws or wooden dowels to securely attach the legs to the tabletop, ensuring a stable base.
Adding Support Braces
To further strengthen your table, consider adding support braces.
Cutting Braces
Measure and cut additional pieces of wood to create support braces. These braces will help distribute the weight evenly across the table, preventing sagging or warping.
Positioning and Attaching
Carefully position the support braces underneath the tabletop, ensuring that they are aligned with the table legs. Use screws or wooden dowels to securely attach the braces to both the tabletop and the legs. This step will add structural integrity to your table.

Applying Finish
The next step in making your wooden table is applying the finishing touches.
Choosing the Finish
Consider the desired look and feel for your table when choosing a finish. If you want to showcase the natural beauty of the wood, opt for a wood stain that enhances the grain. Alternatively, you can paint the table for a more contemporary or colorful look.
Applying Stain or Paint
Before applying the chosen finish, make sure the wood is clean and free from any dust or debris. Apply the stain or paint using a paintbrush or foam brush, following the grain of the wood. Allow the finish to dry according to the manufacturer’s instructions, and add additional coats if desired.
Sealing with Varnish or Wax
To protect and enhance the finish, consider sealing the table with varnish or wax. Apply the varnish or wax using a clean cloth or brush, following the manufacturer’s instructions. This step will provide an additional layer of protection and give your table a polished appearance.
Smoothing and Finishing Touches
To achieve a professional finish, don’t forget to sand and smooth the table after applying the finish.
Sanding and Smoothing
Use fine-grit sandpaper to sand the entire surface of the table, including the edges. This will help remove any imperfections, bubbles, or brush marks, leaving you with a smooth and even finish. Take your time and be gentle to avoid damaging the finish.
Adding Decorative Elements
If desired, you can add some decorative elements to your table to give it a unique touch. Consider adding carved patterns, inlays, or even metal accents to make your table stand out and reflect your personal style.

Checking for Stability and Level
Before considering your table complete, it’s important to check for stability and ensure a level surface.
Ensuring Stability
Give your table a gentle shake to test its stability. If it wobbles or feels unstable, consider tightening the screws or making necessary adjustments to the leg supports or braces. Ensuring stability is crucial for the safety and longevity of your table.
Checking for Level Surface
Place a level on top of your table to check for a level surface. Adjust the leg supports or braces as needed to achieve a level tabletop. A level surface is essential for comfort and practicality, especially if you plan to use the table for activities such as writing or dining.
Final Touches and Maintenance
Congratulations, you have successfully made a basic wooden table! To complete the project, consider the following final touches and maintenance tips.
Applying Additional Coats
If you opted for a protective finish such as varnish or wax, consider applying additional coats for added durability. Follow the manufacturer’s instructions on recommended drying times between coats.
Regular Maintenance
To keep your wooden table in good condition, it’s important to perform regular maintenance. Clean the table with a soft, damp cloth to remove any debris or spills promptly. Avoid using harsh chemicals or abrasive cleaners that may damage the finish. Every few months, consider applying a fresh coat of varnish or wax to maintain the protective layer.
By following these steps and taking your time to choose the right wood, gather the necessary materials, and properly assemble and finish your table, you can proudly enjoy your own handmade wooden table for years to come. Remember, woodworking is a skill that can be continuously improved upon, so don’t be afraid to experiment and add your personal touch to future projects. Happy woodworking!


