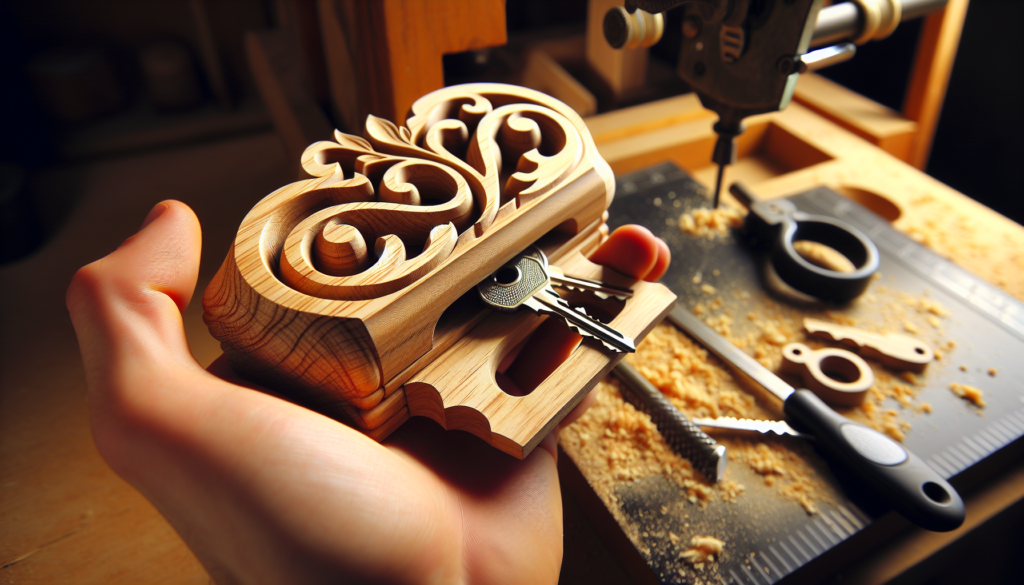
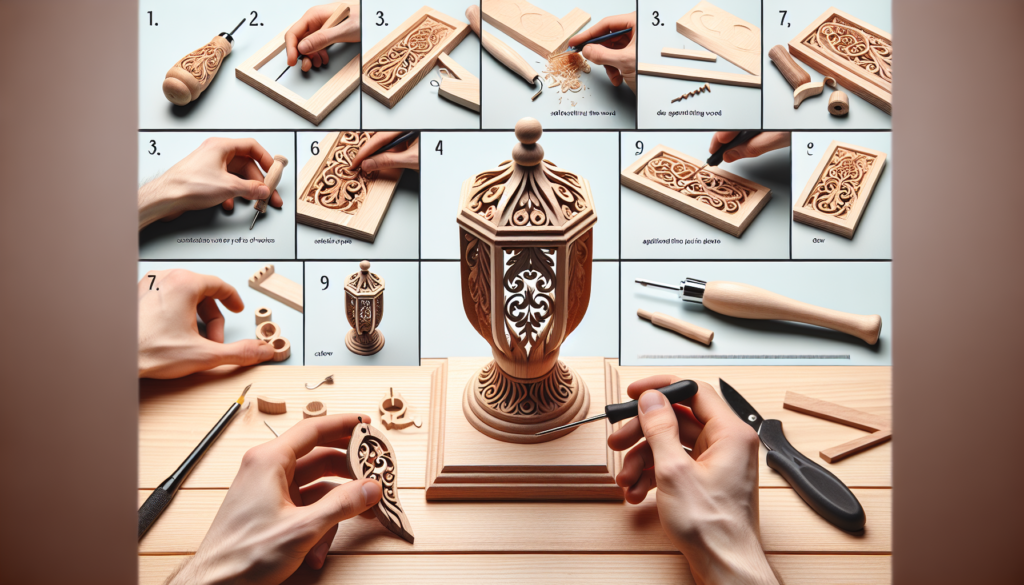
Imagine never losing your keys again! In this article, you will discover the step-by-step process of creating your very own wooden key holder. Whether you’re a seasoned DIY enthusiast or just starting out, this project is perfect for anyone looking to add a touch of rustic charm to their home while keeping their keys organized. So grab your tools, gather some wood, and let’s get started on this fun and practical project!
Materials Needed
To create a wooden key holder, you will need the following materials:
Wooden plank
First and foremost, you will need a wooden plank. The size of the plank will depend on your personal preference and the number of hooks you plan to install. Choose a high-quality wood that is strong and durable, such as oak or pine.
Saw
A saw is essential for cutting the wooden plank to the desired size and shape. Make sure to use a saw that is appropriate for woodworking, such as a hand saw or a circular saw.
Sandpaper
Once you have cut the wooden plank, you will need sandpaper to smooth out any rough edges. This will ensure a polished finish and prevent any splinters.
Drill
To attach the hooks to the wooden plank, you will need a drill. Make sure to use the appropriate drill bit size according to the diameter of your hooks.
Wood stain or paint
To add a touch of color and protection to your wooden key holder, you will need wood stain or paint. Choose a stain or paint color that complements your home decor and personal style.
Hooks
Hooks are an essential component of a key holder, as they provide a secure and convenient place to hang your keys. Choose sturdy hooks that can hold the weight of multiple keys.
Measuring tape
Accurate measurements are crucial in planning the design and placement of the hooks. A measuring tape will help ensure that your key holder is of the right size and that the hooks are evenly spaced.
Pencil
A pencil will be used to mark measurements, drill points, and any other design details. Make sure to use a pencil that is easily erasable, so you can make adjustments as needed.
Planning the Design
Before diving into the construction process, it is essential to plan the design of your wooden key holder. This initial step will help you visualize the final product and ensure that it meets your needs and aesthetic preferences.
Choosing the size and shape
Consider the available space where you plan to hang your key holder. Determine the ideal size and shape that will fit well in that area. This could be anything from a simple rectangular plank to a more intricate design, such as a key-shaped or tree-shaped holder.
Deciding on the number of hooks
Think about how many sets of keys you intend to hang on your key holder. Based on this, decide on the appropriate number of hooks to include. You may want to allocate additional hooks for future use or to accommodate guests’ keys.
Sketching the design
Take some time to sketch out your key holder design on paper. This will help you visualize the final product and make any necessary adjustments before starting the construction process. Sketching also allows you to experiment with different shapes and patterns to create a unique and personalized key holder.

Cutting and Sanding the Wood
With the design planning complete, it’s time to move on to the construction phase of creating your wooden key holder.
Measuring and marking the wood
Using a measuring tape, determine the desired dimensions for your key holder on the wooden plank. Mark the measurements with a pencil, ensuring that the lines are straight and accurate.
Using a saw to cut the plank
Carefully cut the wooden plank along the marked lines using a saw. Make sure to follow proper safety precautions and use the appropriate saw for the job. Take your time and make smooth, even cuts to achieve the desired shape.
Sanding the rough edges
After cutting the wooden plank, use sandpaper to smooth out any rough edges or uneven surfaces. Sanding is crucial not only for aesthetic purposes but also for safety, as it helps prevent splinters. Start with rough-grit sandpaper and gradually switch to finer-grit sandpaper for a polished finish.
Drilling Holes and Adding Hooks
Now that the basic structure of the key holder is complete, it’s time to add the hooks and create the necessary holes for their installation.
Determining the hook placement
Based on the design and number of hooks you decided on during the planning phase, determine the optimal placement of the hooks on your key holder. Take into consideration both functionality and aesthetics, ensuring that the hooks are evenly spaced and positioned at a convenient height.
Marking drill points on the wood
Once you have determined the hook placement, use a pencil to mark the drill points on the wooden plank. Double-check your measurements to ensure accuracy before proceeding to the next step.
Using a drill to create holes
With the drill bit of the appropriate size, carefully drill holes on the marked points. Make sure to hold the drill steady and apply consistent pressure to create clean and precise holes.
Screwing in the hooks
After drilling the holes, attach the hooks by screwing them into the pre-drilled holes. Ensure that the hooks are securely fastened and can hold the weight of your keys without wobbling or coming loose.

Applying Wood Stain or Paint
Once the structural elements are in place, it’s time to add a touch of color and protection to your wooden key holder.
Choosing a stain or paint color
Consider the overall color scheme of your home and choose a stain or paint color that complements it. You can opt for a natural wood stain to enhance the grain and texture of the wood or select a paint color that matches your decor.
Preparing the wood surface
Before applying the stain or paint, make sure the wood surface is clean and free of dust and debris. Use a cloth or brush to remove any loose particles. If necessary, you can also lightly sand the surface to create a smooth and even base.
Applying the stain or paint
Follow the instructions provided by the manufacturer and apply the stain or paint to the wooden key holder using a brush or cloth. Ensure even coverage and allow each coat to dry before applying the next. Consider applying a clear sealant for added protection and durability.
Adding Personalization and Details
Now that the basic construction and finishing touches are complete, it’s time to add personalization and unique details to your wooden key holder.
Optional: Carving designs or patterns
If you have woodworking skills and access to carving tools, consider adding intricate designs or patterns to your key holder. This can add a truly unique touch and showcase your creativity.
Optional: Adding decorative elements
You may also choose to embellish your key holder with decorative elements such as beads, buttons, or small ornaments. These accents can add personality and enhance the overall aesthetic appeal of the key holder.
Allowing for personalization
Consider leaving space on your wooden key holder for personalization options. This could be in the form of a small chalkboard or a dedicated area for attaching personalized nameplates or labels. This allows you to customize the key holder further or adapt it for different purposes.

Final Touches and Installation
With the construction and personalization complete, it’s time to add final touches and install your wooden key holder on the wall.
Sanding any rough spots
Take the time to inspect the entire key holder and sand any remaining rough spots or imperfections. This ensures a smooth and polished finish that is pleasing to both the touch and the eye.
Applying a sealant for protection
Consider applying a clear sealant over the entire wooden key holder to protect it from daily wear and tear. A sealant will help prevent scratches, stains, and moisture damage, ensuring the longevity and durability of your key holder.
Attaching hanging hardware
To ensure secure and stable installation, attach hanging hardware to the back of your key holder. This could be in the form of D-ring hangers, sawtooth hangers, or picture hanging wire. Make sure to use hardware that is appropriate for the weight and size of your key holder.
Mounting the key holder on the wall
With the hanging hardware in place, it’s time to mount your wooden key holder on the wall. Use a level to ensure that it is straight and hang it at a convenient height for easy access. Once mounted, step back and admire your handcrafted creation.
Maintaining and Caring for the Key Holder
To ensure that your wooden key holder remains in good condition and continues to serve its purpose effectively, there are a few essential maintenance and care tips to keep in mind.
Regularly cleaning and dusting
Dust and debris can accumulate on the surface of the key holder, making it look dull and unappealing. Regularly clean and dust your key holder using a soft cloth or a duster to maintain its original beauty.
Avoiding exposure to moisture
Wood is susceptible to damage from moisture, which can lead to warping, swelling, or even rot. Avoid placing your wooden key holder in areas of high humidity or direct contact with water. Opt for a location that is dry and well-ventilated to preserve the integrity of the wood.
Repairing any damage
In the event of any damage to your key holder, such as loose hooks or scratches, make sure to address it promptly. Tighten any loose screws, touch up any paint or stain, and address any other damage to prevent further deterioration.

Alternative Design Ideas
If you’re looking to add a unique twist to your wooden key holder, here are a few alternative design ideas you can consider:
Using reclaimed wood for a rustic look
For a more rustic and eco-friendly approach, consider using reclaimed wood for your key holder. This not only adds character and charm but also promotes sustainable practices by repurposing materials.
Incorporating a small shelf or mail holder
If you need more functionality from your key holder, you can incorporate a small shelf or mail holder into the design. This allows you to keep essential items organized and within reach, all in one convenient location.
Creating a key holder with a magnetic strip
Instead of traditional hooks, you can opt for a key holder design that features a magnetic strip. This allows you to simply attach your keys to the strip, eliminating the need for hooks. This design can be sleek and minimalist, perfect for a modern home.
Conclusion
By embarking on the journey of creating your own wooden key holder, you not only fulfill a functional need in your home but also unleash your creativity and craftsmanship. With the right materials and a little planning, you can create a key holder that not only keeps your keys organized but also serves as a decorative piece. So gather your tools, unleash your imagination, and enjoy the pride and satisfaction of crafting a beautiful and practical wooden key holder.


