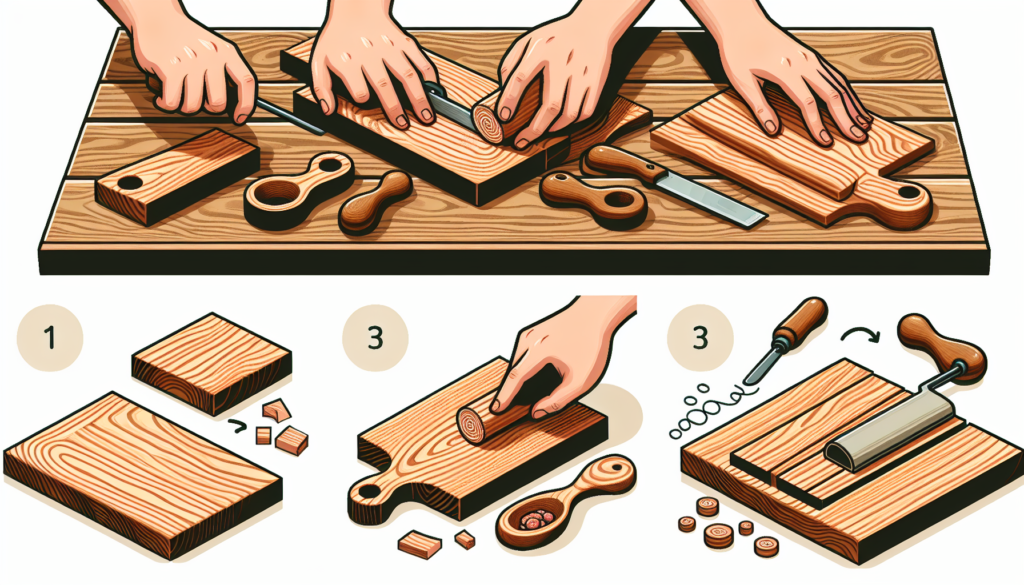
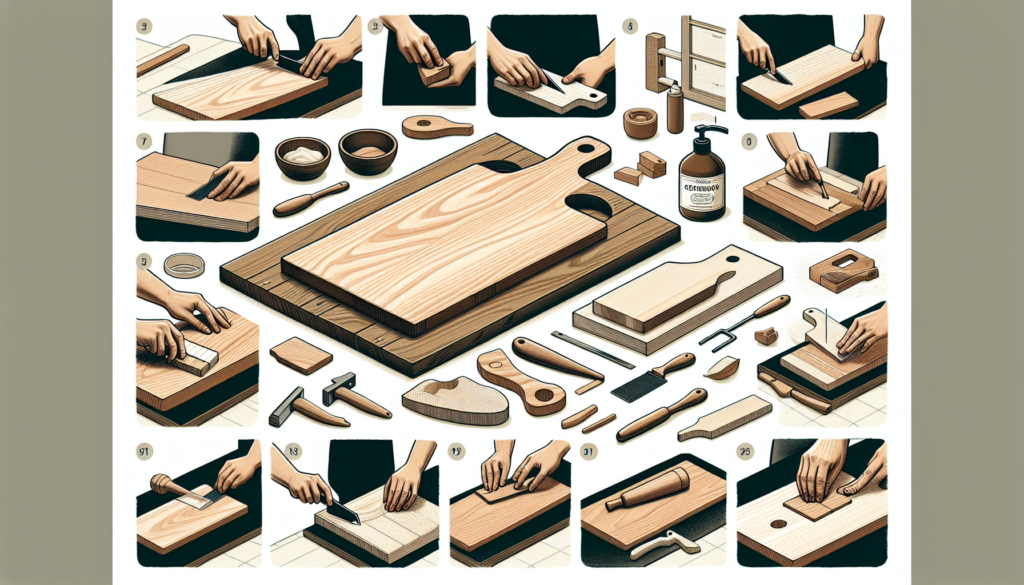
Making your own wooden cutting board can be a fun and rewarding project. Whether you’re an experienced woodworker or someone who has never picked up a saw before, this article will guide you through the step-by-step process of creating a beautiful and functional cutting board. From selecting the right type of wood to applying the finishing touches, you’ll learn all the tips and tricks you need to make a cutting board that is not only practical but also a stunning addition to your kitchen. So roll up your sleeves, grab your tools, and get ready to embark on a woodworking adventure that will leave you with a handmade masterpiece.

Choosing the Right Wood
Types of Wood to Consider
When it comes to choosing the right wood for your cutting board, there are several options to consider. Hardwoods such as maple, walnut, cherry, and oak are popular choices due to their durability and resistance to moisture. These woods also have a beautiful grain pattern that adds aesthetic appeal to the finished product. Additionally, bamboo is another popular option for its sustainability and natural antibacterial properties. Ultimately, the type of wood you choose will depend on personal preference, budget, and availability.
Factors to Consider in Wood Selection
Before making your final decision, there are a few factors to consider. The first is the hardness of the wood. Hardwoods like maple and walnut are more resistant to scratches and knife marks, making them an excellent choice for cutting boards. Next, you’ll want to consider the grain pattern. Some woods, like oak, have a prominent grain that can add a unique look to your cutting board. Finally, it’s important to think about sustainability. Choosing a wood that is readily available and sustainably sourced ensures that you are making an environmentally conscious choice.
Gathering the Necessary Tools and Materials
Essential Tools for Making a Wooden Cutting Board
To start your wooden cutting board project, you’ll need a few essential tools. These include a table saw or circular saw for cutting the wood to size, a random orbital sander for sanding the wood, clamps for joining the pieces together, and a biscuit joiner or doweling jig for reinforcing the joints. You’ll also need safety equipment such as safety goggles, gloves, and a dust mask to protect yourself during the cutting and sanding process. Having these tools on hand will make the woodworking process much easier and more efficient.
Materials Needed for Making a Wooden Cutting Board
In addition to the tools, you’ll need a few materials to bring your cutting board to life. The most important material is, of course, the wood itself. Depending on your selected design and personal preference, you’ll need enough hardwood boards to create the desired size and thickness of your cutting board. You’ll also need wood glue for joining the pieces together and a food-safe finish to protect and enhance the natural beauty of the wood. It’s crucial to choose a finish that is specifically labeled as safe for food contact to ensure your cutting board remains hygienic.
Preparing the Wood
Cutting the Wood to Size
Once you have gathered all your tools and materials, it’s time to prepare the wood for your cutting board. Start by measuring and marking the dimensions you want for your cutting board on the hardwood boards. Using a table saw or circular saw, carefully cut the boards to the desired size. Be sure to cut straight and smooth lines to ensure a precise fit when joining the pieces together.
Sanding the Wood
Once the wood is cut to size, it’s essential to sand it thoroughly. Begin by using a coarse-grit sandpaper to remove any rough edges, splinters, or imperfections. Gradually work your way up to finer grit sandpaper to achieve a smooth and polished surface. Sanding not only improves the appearance of the wood but also helps remove any potential hazards, such as sharp edges or rough surfaces, that could compromise the quality of your cutting board.
Applying a Finish
To protect the wood and enhance its natural beauty, it’s crucial to apply a food-safe finish. There are various options available, including mineral oil, beeswax, and food-grade finishes specifically designed for cutting boards. Apply the finish according to the manufacturer’s instructions, ensuring even coverage on all surfaces. Allow the finish to dry completely before proceeding to the next step.
Designing the Cutting Board
Selecting a Design
When it comes to designing your cutting board, the possibilities are endless. You can opt for a classic rectangular shape, a unique geometric pattern, or even incorporate a handle or juice groove. Consider your personal style, the functionality you desire, and the tools and skills you have available. Remember, your cutting board is not only a functional kitchen tool but also a piece of craftsmanship that reflects your creativity.
Creating a Sketch or Template
Before cutting and shaping the wood, it’s helpful to create a sketch or template of your desired design. This will serve as a guide throughout the process and help ensure accuracy and consistency. Use a pencil and graph paper or a computer program to map out the dimensions, shape, and any additional features you want to incorporate into your cutting board. Make adjustments as needed until you are satisfied with the overall design.
Choosing a Shape
The shape of your cutting board is entirely up to you. Rectangular boards are the most common and traditional, providing a spacious and versatile workspace. However, you can also experiment with different shapes, such as round, oval, or even custom designs. Consider the functionality and storage space available in your kitchen when choosing the shape of your cutting board. It’s important to strike a balance between aesthetics and practicality.

Cutting and Shaping the Board
Marking the Dimensions
With your design and template in hand, it’s time to transfer the dimensions onto the wood. Use a pencil or marking tool to carefully mark the cutting lines, ensuring accuracy and precision. Double-check your measurements before cutting to avoid any mistakes or miscalculations that could affect the final result.
Cutting the Board
Using a table saw or circular saw, carefully cut along the marked lines to shape the wooden cutting board. Take your time and make smooth, controlled cuts to avoid any errors or damage to the wood. If your design includes additional features such as handles or juice grooves, be sure to follow the appropriate cutting techniques and safety precautions.
Shaping the Corners or Edges
Once the board is cut to shape, you may choose to shape the corners or edges for a more refined and aesthetic look. This can be done using a router or by hand using sandpaper or a file. Take care to round the corners or create beveled edges evenly for a polished finish. Remember that smooth edges not only enhance the appearance of your cutting board but also make it more comfortable and safe to handle.
Joining the Pieces
Using a Butt Joint
One common method for joining the pieces of your cutting board is a butt joint. To create a butt joint, align the edges of the boards together and secure them with clamps. Ensure that the boards fit tightly together without gaps or misalignment. This method is straightforward and suitable for beginners, but it’s important to use adequate clamping pressure to ensure a strong bond.
Clamping the Pieces Together
Once the boards are aligned and clamped, double-check that they are level and flush before proceeding. Use a measuring tool or square to confirm that the corners are at perfect right angles. Adjust the clamps as necessary to ensure a tight and secure fit.
Gluing the Joints
After confirming the alignment of the boards, it’s time to apply wood glue along the joining edges. Use a brush or applicator to spread a thin and even layer of glue on both surfaces. Press the boards firmly together and wipe away any excess glue that may squeeze out. Allow the glue to dry according to the manufacturer’s instructions before moving on to the next step.

Reinforcing the Joints
Using Dowels for Extra Support
For added strength and stability, you can reinforce the joints of your cutting board using dowels. After the glue has dried, use a doweling jig to mark the dowel hole locations. Drill the holes using a drill press or hand drill and insert the dowels with wood glue. This technique strengthens the joints and prevents them from separating under heavy use.
Creating Biscuit Joints
Another method to reinforce the joints is by using biscuit joints. Biscuits are small, oval-shaped wooden pieces that are inserted into matching slots in the joining edges of the boards. This creates additional surface area for gluing and increases the strength of the joint. Use a biscuit joiner to cut the slots and apply wood glue to the biscuits before inserting them into the slots. Clamp the boards together and allow the glue to dry completely for a secure and durable joint.
Finishing and Sanding the Board
Sanding the Surface
Once the glue has dried and the joints are reinforced, it’s time to sand the surface of your wooden cutting board. Start with a coarse-grit sandpaper to remove any imperfections or roughness. Gradually work your way up to finer grit sandpaper, ensuring a smooth and polished surface. Sanding also helps blend the joints seamlessly into the rest of the board, giving it a cohesive and professional look.
Applying Food-Safe Finish
To preserve the natural beauty of the wood and protect the surface from moisture and stains, it’s crucial to apply a food-safe finish. There are various options available, such as mineral oil, which penetrates the wood and provides a protective barrier, or beeswax, which enhances the aesthetic appeal of the board. Apply the chosen finish according to the manufacturer’s instructions, ensuring even coverage on all surfaces. Allow the finish to dry completely before using the cutting board.

Adding Handles or Grips
Choosing the Right Handles or Grips
Adding handles or grips to your cutting board can make it easier to handle and transport. When choosing handles or grips, consider the overall style of your cutting board, your personal preference, and the practicality of the chosen handle. Wooden handles can be carved or shaped from the same wood as the cutting board, creating a seamless and cohesive look. Alternatively, you can opt for metal or plastic handles for a contrasting or modern aesthetic.
Installing the Handles or Grips
Once you have selected the handles or grips, it’s time to install them on your cutting board. Measure and mark the desired location for the handles, ensuring proper placement and alignment. Use appropriate hardware, such as screws or bolts, to secure the handles in place. Double-check that the handles are securely attached and do not interfere with the functionality of the cutting board.
Conclusion
Making your own wooden cutting board is a rewarding and fulfilling project that allows you to create a unique and functional kitchen tool. By carefully selecting the right wood, gathering the necessary tools and materials, and following the step-by-step process, you can create a cutting board that is not only beautiful but also durable and long-lasting. Whether you choose a classic rectangular design or explore more creative shapes and features, your homemade cutting board is sure to be a standout piece in your kitchen. So, grab your tools, unleash your creativity, and start crafting your very own wooden cutting board today!


