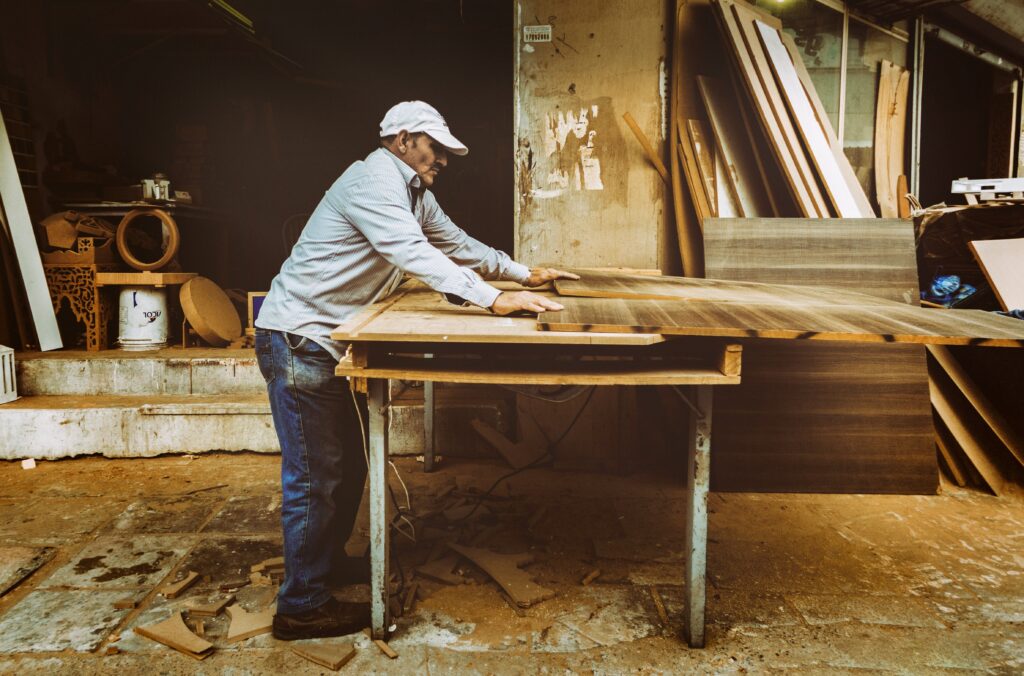
Are you a wine enthusiast looking for a fun and creative woodworking project? If so, we’ve got just the suggestion for you – a wine rack! Whether you’re a seasoned woodworker or just starting out, building your own wine rack can be a rewarding and enjoyable project. Not only will it provide you with a stylish and functional way to store your favorite bottles of vino, but it will also add a touch of elegance to your home decor. So, grab your tools and let’s embark on this exciting woodworking adventure together!
Design Considerations
Size and Capacity
When designing a wine rack, one of the first considerations is the size and capacity of the rack. You need to determine how many wine bottles you wish to store and how much space you have available for the rack. This will help you decide on the dimensions of the rack and the number of bottle slots it should have. Keep in mind that each standard wine bottle measures approximately 3-4 inches wide and 12 inches tall.
Style and Aesthetics
The style and aesthetics of a wine rack are important factors to consider as well. Think about the overall design and look you want to achieve. Are you going for a rustic and traditional look, or do you prefer a more contemporary and modern style? Consider the existing décor and ambiance in your space to ensure the wine rack complements the overall aesthetic.
Material Selection
Choosing the right materials for your wine rack is vital to its durability and visual appeal. Wood is a popular choice due to its natural beauty, strength, and versatility. Different types of wood can create various looks and styles. Oak, pine, and mahogany are commonly used for wine racks, each with their unique characteristics. Additionally, consider the finish and treatment of the wood to ensure it can withstand the moisture and humidity often associated with storing wine.
Tools and Materials
Tools Required
To successfully build a wine rack, specific tools are necessary. A few basic tools you will need include a tape measure, a saw, a drill, sandpaper, and clamps. These tools will be used throughout the building process, from measuring and cutting the wood to assembling and finishing the rack. Depending on the design and complexity of your chosen wine rack project, you may require additional tools such as a router or a chisel.
Wood Selection
Wood selection is crucial in determining the overall appearance and durability of your wine rack. Choose a wood that suits your desired aesthetic and matches your existing furniture or decor. Oak is known for its strength and durability, while pine offers a more affordable option with its natural, light-colored appearance. Consider the grain pattern and density of the wood to ensure it can support the weight of the wine bottles and maintain its structural integrity.
Additional Materials
In addition to the main wood components, you may need additional materials to complete your wine rack project. Depending on the design, you may require screws, nails, wood glue, or brackets to join the pieces together securely. Additionally, sandpaper or a sanding block will be essential for smoothing the wood surfaces before applying a finish. If you choose to stain or paint the wine rack, you will also need appropriate supplies such as stain or paint, brushes, and a clear coat finish for added protection.

Building Process
Measuring and Planning
Before starting the building process, take time to measure your available space and plan the dimensions of your wine rack accordingly. Ensure that the height, width, and depth of the rack align with the measurements you obtained earlier. Consider the number of wine bottles you want to accommodate and plan the size and spacing of the bottle slots accordingly. It is recommended to create a detailed plan or blueprint with precise measurements and angles to guide you during the construction.
Cutting and Shaping Wood
Once you have your measurements and plan in place, it’s time to cut and shape the wood components for your wine rack. Use a saw to cut the pieces to the desired lengths and angles according to your blueprint. Remember to double-check your measurements before making any cuts to avoid errors. Depending on the design, you may need to shape the wood by routing or carving decorative patterns or curves. Take your time and work carefully to achieve clean and precise cuts.
Joinery and Assembly
Joinery is an essential step in constructing a sturdy wine rack. Depending on your woodworking skill level and the complexity of the design, you can choose from various joining methods such as dowel joints, mortise and tenon joints, or pocket-hole joinery. Use clamps to hold the wood pieces in place while you join them securely. Ensure that the joints fit tightly and that all pieces are aligned correctly. Work systematically, following your plan, and make any necessary adjustments along the way to ensure a tight and stable construction.
Finishing Touches
Sanding and Smoothing
Once the wine rack is assembled, it’s time to focus on the finishing touches. Start by sanding the entire surface of the rack to achieve a smooth and even finish. Begin with a coarse grit sandpaper and gradually move to finer grits for a polished result. Sand both the visible surfaces and the edges to ensure no rough patches remain. Pay extra attention to corners and curved areas to maintain a consistent finish throughout the wine rack.
Staining or Painting
After sanding, you have the option to stain or paint your wine rack. Staining allows you to enhance the natural beauty of the wood while adding depth and richness to its color. On the other hand, painting gives you the opportunity to customize the rack with a specific color or finish that matches your personal style or existing decor. Whichever option you choose, ensure you follow the manufacturer’s instructions on applying the stain or paint evenly and thoroughly, allowing for adequate drying time between coats.
Applying a Finish
Once the stain or paint has dried completely, apply a clear coat finish to protect the wood and enhance its durability. The finish adds a layer of protection against moisture and wear and tear, ensuring your wine rack will withstand the test of time. Consider using a polyurethane finish or a wood conditioner specifically designed for wine racks to maintain the integrity of the wood while highlighting its natural beauty. Apply the finish evenly and allow it to dry according to the manufacturer’s instructions.

Optional Features
Built-in Glass Holder
To maximize the functionality of your wine rack, consider adding a built-in glass holder. This feature allows you to store your wine glasses conveniently alongside your bottles. Measure and cut slots or notches in the wood pieces to securely hold the stems of the glasses. This addition not only provides practicality but also adds an elegant and sophisticated touch to your wine rack.
Hanging Stemware Storage
An alternative to a built-in glass holder is incorporating hanging stemware storage. This design feature allows you to suspend your wine glasses from the top or underside of the wine rack. You can achieve this by attaching hooks or brackets to the wood components, providing a visually appealing way to display and store stemware. Ensure that the hooks or brackets are securely fastened to hold the weight of the glasses.
Decorative Elements
For those seeking to elevate the aesthetics of their wine rack, consider incorporating decorative elements. These can include carved designs, inlaid patterns, or ornamental accents such as metal hardware or decorative knobs. Remember to keep the overall style and theme of your wine rack in mind when selecting decorative elements. These details add a touch of personalization and can transform a simple wine rack into a stunning focal point in your home.
Tips and Tricks
Accuracy in Measurements
To achieve a precise and professional-looking wine rack, accuracy in measurements is crucial. Use a quality tape measure and double-check your measurements before making any cuts. Avoid rushing and take your time to ensure all dimensions are correct. It’s always better to measure twice and cut once to avoid costly mistakes.
Avoiding Splintering
Splintering is a common issue when working with wood, particularly during cutting or shaping. To minimize the risk of splintering, use a sharp blade or saw, and consider using a piece of sacrificial wood beneath the area you are cutting. This sacrificial piece will help prevent tear-out and keep the wood fibers intact. Additionally, choose the appropriate blade or cutting tool for the type of wood you are working with to minimize the chances of splintering.
Maintaining Proper Alignment
Assembling your wine rack requires attention to detail to ensure proper alignment. Before joining any pieces, double-check their positioning and use clamps to hold them securely in place. This will help prevent any misalignment issues that could compromise the stability and functionality of the wine rack. Taking the time to get the alignment right will result in a well-built and visually appealing final product.

Safety Precautions
Wear Appropriate Safety Gear
Woodworking involves the use of various tools and poses potential risks. Prioritize your safety by wearing appropriate safety gear, including safety glasses, ear protection, and a dust mask. Protecting your eyes from flying debris, your ears from loud noises, and your lungs from fine dust particles is crucial for a safe and enjoyable woodworking experience.
Use Tools Properly
Always use tools as intended and follow the manufacturer’s guidelines for their safe and proper usage. Familiarize yourself with the specific features and functions of each tool before using it. Improper tool usage can lead to accidents, injuries, or damage to the wood. Take the time to read the tool manuals or seek guidance from experienced woodworkers if needed.
Secure Workpiece
When working with power tools or during the assembly process, ensure that your workpiece is adequately secured. This will prevent the wood from moving or shifting unexpectedly, reducing the risk of accidents. Use clamps, vices, or other appropriate methods to keep the workpiece stable and secure while you work on it.
Troubleshooting
Fixing Loose Joints
If you encounter any loose joints during or after the assembly, there are several methods to fix them. One common solution is using wood glue to reinforce the joint. Apply the glue to the loose joint, reattach the pieces, and use clamps to hold them tightly together until the glue dries. For more severe cases, inserting wooden dowels or screws into the joint can provide extra strength and stability.
Repairing Damaged Wood
If you accidentally damage the wood during the construction process, it is possible to repair it. Minor scratches or dents can often be fixed by sanding the affected area and applying a matching wood stain or filler. For larger damages, such as cracks or splits, wood glue or epoxy can be used to fill the gaps and strengthen the wood. Sand and refinish the repaired area to blend it seamlessly with the rest of the wine rack.
Correcting Uneven Staining
Uneven staining can occur due to variations in wood grain, absorption rates, or improper application. To correct this issue, start by sanding the stained surface lightly. This will remove any excess stain and provide a smoother base for the next step. Apply additional coats of stain evenly, following the manufacturer’s instructions and allowing adequate drying time between coats. Remember to blend the new stain with the surrounding areas for a consistent and visually pleasing finish.

Alternative Designs
Wall-Mounted Wine Rack
A wall-mounted wine rack is an excellent option for those with limited floor space or those looking to make a statement on their walls. These racks can range from simple individual bottle holders to complex modular designs. Consider the style and size that best suits your needs and install it securely onto a stud or using appropriate wall anchors. A wall-mounted wine rack can add a decorative and functional element to any room.
Floor-Standing Wine Rack
Floor-standing wine racks are ideal for those who want a freestanding and movable storage solution. These racks can vary in size and capacity, from small, compact designs to larger units that can hold dozens of bottles. Consider the overall height, stability, and aesthetic appeal when choosing a floor-standing wine rack. These racks often become a focal point in a room and can enhance the ambiance of your space.
Tabletop Wine Rack
For a smaller wine collection or as a stylish display piece, a tabletop wine rack offers versatility and convenience. These compact racks can fit on a countertop, side table, or display shelf. Consider a design that securely cradles the wine bottles while showcasing their labels. A tabletop wine rack can be a functional and decorative addition to your dining area or living room, allowing easy access to your favorite bottles.
Conclusion
Woodworking projects such as building a wine rack provide a rewarding and practical way to showcase your craftsmanship while enhancing your space. By considering the size, style, and materials, you can create a wine rack that is both visually appealing and functional. Following the building process, finishing touches, and optional features outlined in this article will ensure a successful project. Remember to prioritize safety and take advantage of the tips and troubleshooting techniques provided to overcome any challenges. Whether you choose a wall-mounted, floor-standing, or tabletop wine rack, your woodworking skills will shine through, and you’ll have a beautiful and personalized piece to display your wine collection. So grab your tools, select the wood, and get started on your woodworking adventure today! Cheers to a successful wine rack project!


