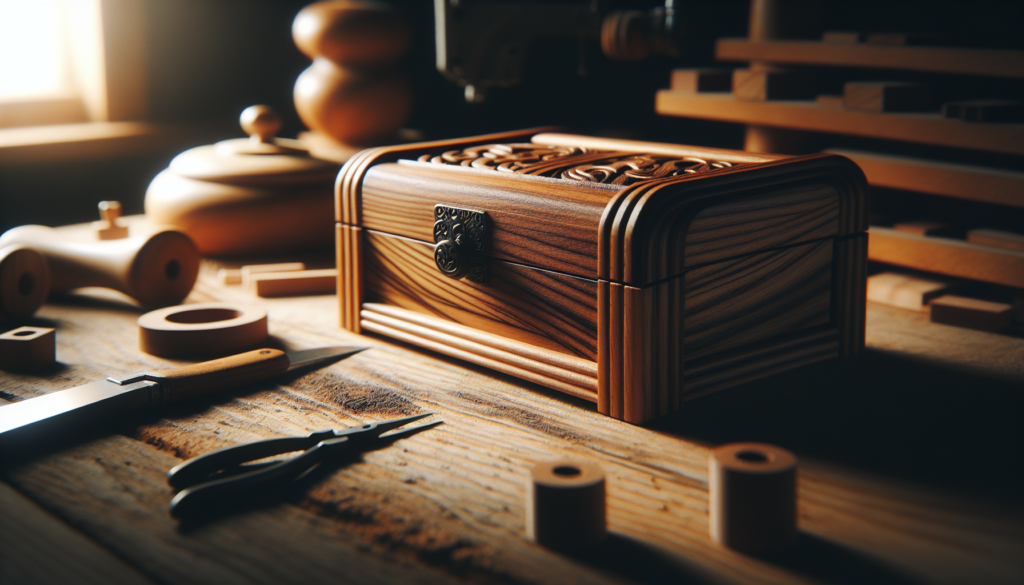
Imagine having a beautiful wooden jewelry box to store and display all of your precious accessories. In this article, we will guide you through the process of creating your very own wooden jewelry box. From selecting the right materials to mastering woodworking techniques, you will learn all the steps needed to bring your vision to life. So, let’s roll up our sleeves and get ready to craft an exquisite wooden jewelry box that reflects your personal style and creativity.

Choosing the Wood
When it comes to making a wooden jewelry box, one of the first decisions you’ll need to make is selecting the right type of wood. The wood you choose not only affects the overall aesthetics of the box, but it also determines its durability and longevity. Some popular choices for wooden jewelry boxes include oak, mahogany, cherry, and walnut. Each type of wood has its own unique characteristics, so it’s important to consider your personal preferences and the specific look you want to achieve. Additionally, you’ll also want to consider the size and thickness of the wood to ensure it is suitable for the size of the box you plan to make.
Gathering the Tools
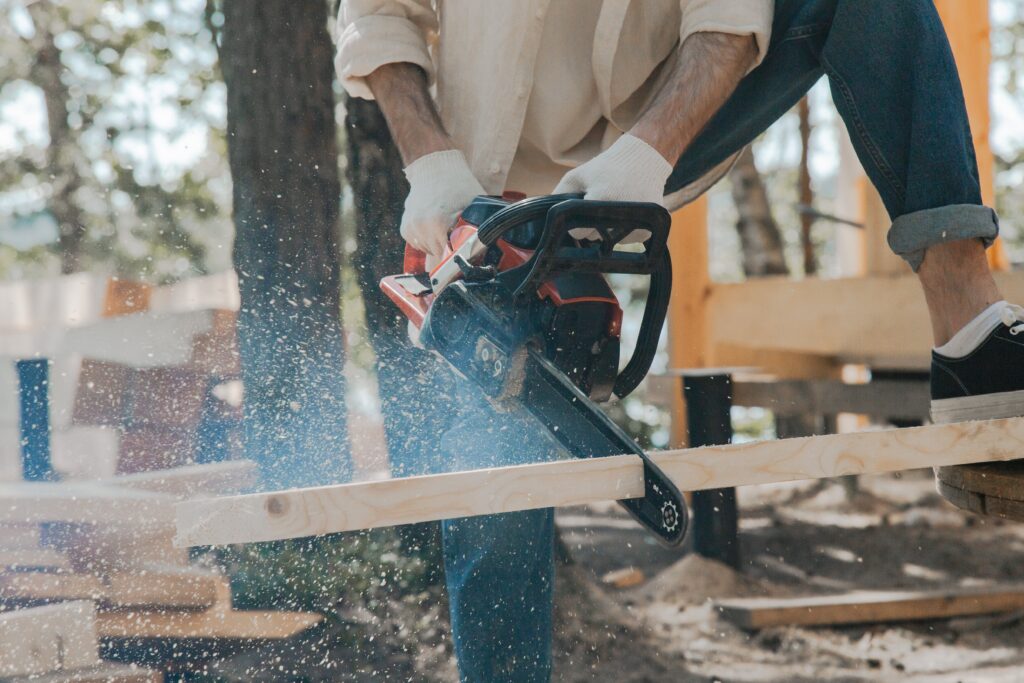
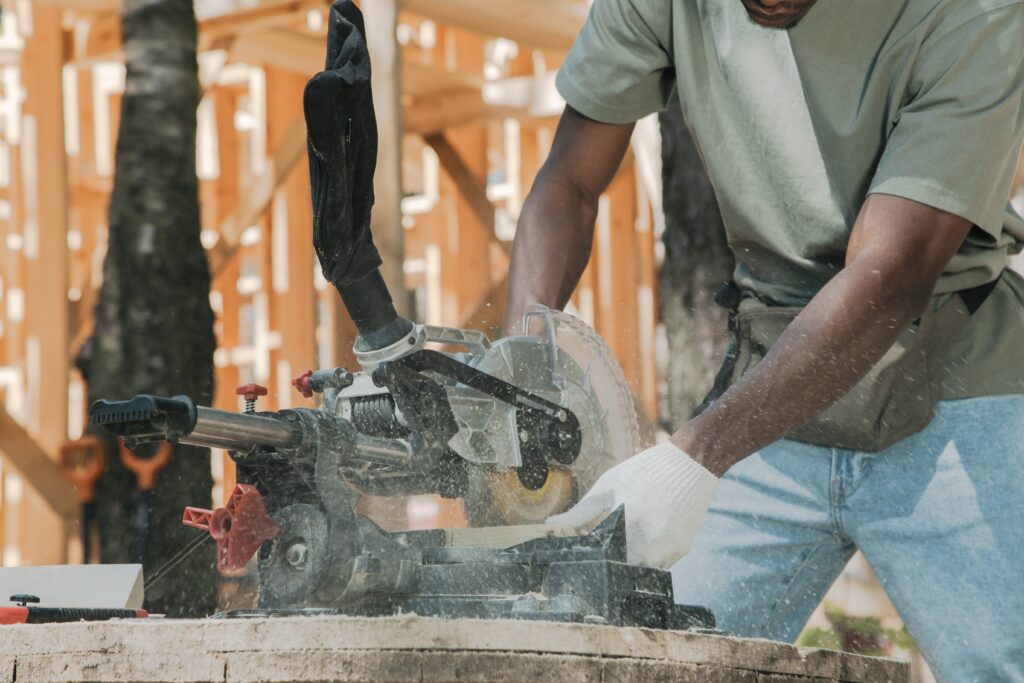
Once you have chosen the wood, it’s time to gather the necessary tools for your project. The essential tools include a saw for cutting the wood, a drill for creating holes and joining pieces, a sandpaper for smoothing the surfaces, and clamps for holding the pieces together during assembly. These tools are the basics needed to create a functional jewelry box. However, if you want to add more intricate details to your box, there are optional tools you can consider. These include a router for creating decorative edges, a chisel for precise carving, and a miter saw for angled cuts. When gathering your tools, it’s essential to have them organized and easily accessible for a smooth and efficient woodworking experience.
Measuring and Planning
Before you start cutting your wood, it’s essential to create a blueprint or design for your jewelry box. This can be as simple as a sketch on a piece of paper or using a computer-aided design (CAD) software for a more detailed plan. The blueprint will guide you in determining the dimensions and layout of your box. Once you have your design ready, it’s time to take accurate measurements. Measure twice, cut once is the golden rule here. Precise measurements ensure that the pieces fit together seamlessly, creating a box that is not only aesthetically pleasing but also structurally sound.
Cutting the Pieces
With your design and measurements in hand, it’s time to start cutting the wood for your jewelry box. Begin by cutting the sides and base of the box according to the dimensions specified in your plan. Take your time and make sure your cuts are precise to ensure a tight fit. Next, cut the lid of the box, ensuring it is slightly larger than the base to allow for easy opening and closing. If you want to create additional compartments within your box for organizing different types of jewelry, this is the step where you’ll need to cut the necessary pieces for those compartments as well.

Joinery Techniques
Joinery techniques are what hold the wooden pieces of your jewelry box together. There are several techniques to choose from, and the selection depends on the level of strength and aesthetics you are aiming for. One popular method is to use dado joints, which involve cutting a groove in one piece of wood that fits with another piece. This method provides excellent strength and stability for your box. Another option is to create dovetail joints, which are not only strong but also add a touch of elegance to your box. Dovetails require precision and skill, but the end result is worth the effort. If you prefer simplicity, biscuit joints are a great option. Biscuit joints involve cutting slots into the wood and inserting small wooden biscuits before gluing the pieces together.
Sanding and Smoothing
To achieve a polished and professional look, sanding and smoothing the surfaces of your jewelry box are essential. Start by using sandpaper with a coarse grit to remove any rough edges and imperfections in the wood. Move on to finer grits of sandpaper to gradually refine the surface and create a smooth finish. Don’t forget to sand all the edges and corners as well. Once you are satisfied with the smoothness, it’s a good idea to apply a wood conditioner before moving forward. This will help the wood absorb the final finish more evenly, resulting in a more uniform appearance.

Assembly and Gluing
Now that your pieces are cut and sanded, it’s time to assemble your jewelry box. Begin by dry-fitting the pieces together to ensure everything aligns correctly. Once you are satisfied with the fit, it’s time to apply wood glue to the joints. Use a brush or a small applicator to spread an even layer of glue along the surfaces that will be joined. Assemble the pieces, making sure everything is aligned, and secure them with clamps. This will keep the joints tight and allow the glue to dry properly. After a sufficient drying time, remove any excess glue using a scraper or a chisel.
Adding Hardware and Details
To give your jewelry box a finished and professional look, it’s time to add hardware and decorative details. One essential piece of hardware for the box is hinges for the lid. Choose hinges that are sturdy and can support the weight of the lid while allowing it to open and close smoothly. Additionally, consider adding decorative moldings to the edges of your box to enhance its visual appeal. These can be attached using wood glue and small finishing nails or brads. If you want an extra level of security for your jewelry, you can also add a latch or lock to keep the box closed.

Finishing the Box
The finishing step is an important one as it not only enhances the beauty of your jewelry box but also protects the wood from aging and wear. Choosing a suitable finish involves considering the type of wood you used and the look you want to achieve. Options include varnish, lacquer, shellac, or wax. Apply the chosen finish according to the manufacturer’s instructions, making sure to cover all surfaces evenly. After the initial coat has dried, you can further enhance the luster of the finish by buffing and polishing with a soft cloth or a buffing wheel.
Final Touches
To personalize your jewelry box further, you can consider adding dividers or compartments inside to keep different jewelry items organized. This can be achieved by cutting and fitting wood pieces within the box or by using removable inserts. Another way to add a personal touch is by engraving or inlaying designs on the lid or sides of the box. These techniques can give your jewelry box a unique and sentimental value. Once you are satisfied with the final result, apply a final coat of finish to protect the new additions and ensure your jewelry box lasts for years to come.
In conclusion, making a wooden jewelry box requires careful consideration in choosing the right wood, gathering the necessary tools, measuring and planning, cutting the pieces, utilizing appropriate joinery techniques, sanding and smoothing, assembly and gluing, adding hardware and details, finishing the box, and applying final touches. By following these steps and using your creativity, you can create a beautiful and functional jewelry box that will showcase and protect your precious accessories for years to come.


