Hey there! Looking to add a touch of rustic charm to your dining table? In this article, we’ll show you how to make a wooden napkin holder that’s not only functional but also a lovely decorative piece. And hey, while we’re at it, we’ll throw in some ideas for a wooden pencil case too! So grab your tools and get ready to unleash your inner craftsman—let’s get started!
How Do I Make A Wooden Napkin Holder?
If you’re looking for a fun woodworking project that combines both functionality and creativity, making a wooden napkin holder is a great choice. With just a few materials and some simple tools, you can create a stylish and practical addition to your dining table. In this article, we will guide you through the step-by-step process of making a wooden napkin holder. So gather your materials and let’s get started!
Materials needed
Before we delve into the actual process, let’s gather all the materials you’ll need for this project. Here’s a handy list to help you keep track:
- Wood
- Measuring tools
- Saw
- Sandpaper
- Wood glue
- Clamps
- Wood stain or paint
- Varnish or sealant
- Napkins
Now that we have everything ready, let’s move on to the first step.
Choosing the right wood
To create a strong and durable napkin holder, it’s essential to choose the right type of wood. Two main categories of wood are commonly used in woodworking: hardwoods and softwoods.
Hardwoods vs. softwoods
Hardwoods typically come from deciduous trees and are known for their strength and durability. Some popular hardwood options for napkin holders include oak, maple, cherry, and walnut. Softwoods, on the other hand, are obtained from evergreen trees and are generally less dense and more affordable. Pine, cedar, and fir are commonly used softwoods for this project.
Consider your preferences, budget, and availability when selecting the wood for your napkin holder.
Commonly used woods for napkin holders
When choosing wood for a napkin holder, it’s important to opt for a type that is resistant to warping and moisture. Hardwoods like oak and maple are excellent choices due to their durability and resistance to environmental factors. However, softer woods such as pine or cedar can also be suitable, especially if you plan to apply a protective finish.

Measuring and cutting the wood
With the wood selected, it’s time to measure and cut the pieces for your napkin holder. This step is crucial to ensure the final product is the right size and shape to hold your napkins.
Determining the dimensions
Consider the size of your napkins and determine the appropriate dimensions for your napkin holder. Generally, a rectangular shape works well for holding napkins. Measure the length and width of your napkins, and then add 1-2 inches to each measurement to allow for easy insertion and removal.
Marking the cuts
Using a measuring tool, mark the dimensions on your chosen wood. Double-check the measurements to ensure accuracy and make sure the marks are visible for precise cutting.
Using a saw to cut the wood
Once you’ve marked the wood, it’s time to cut it into the desired shape. Use a saw suitable for cutting wood, such as a hand saw or a circular saw. Take your time and follow the marked lines carefully to achieve clean and precise cuts. Remember to wear protective gear, such as safety goggles and gloves, to ensure your safety while cutting.
Sanding the wood
Sanding the wood is an important step that not only smooths the surface but also prepares it for the finishing touches.
Preparing the surface
Before sanding, ensure that the wood surface is clean and free of any debris. Use a clean cloth or brush to remove any dust or particles. This will help prevent scratches and abrasions while sanding.
Sanding the edges and surfaces
Start by sanding the edges of the wood using sandpaper with a medium grit. This will help remove any rough edges and create a smooth and uniform appearance. Next, proceed to sand the surfaces, moving in the direction of the wood grain. Start with a medium grit sandpaper and gradually switch to a finer grit for a smoother finish. Be patient and take your time to achieve the desired level of smoothness.

Assembling the napkin holder
Now that the individual pieces are ready, it’s time to assemble them into a functional napkin holder.
Arranging the pieces
Lay out the pieces of wood in the desired configuration for your napkin holder. Ensure that they fit together properly and that there is enough space for the napkins to be easily inserted and removed.
Applying wood glue
Apply a thin and even layer of wood glue to the contact surfaces of the wood pieces. Use a brush or a small spatula to spread the glue evenly. Avoid using excessive amounts of glue, as it can result in messy joints and prolonged drying times.
Using clamps for securing
Once the glue has been applied, carefully position the wood pieces together, ensuring they align properly. Secure the pieces in place using clamps. The clamps will apply even pressure, helping the glue bond the pieces together securely.
Allowing the glue to dry
After assembling the napkin holder, allow the wood glue to dry completely. Follow the manufacturer’s instructions for the recommended drying time. It’s essential to be patient and avoid disturbing the napkin holder during this time to ensure a strong and stable final product.
Finishing touches
With the napkin holder assembled, it’s time to add the finishing touches to enhance its appearance and protect the wood.
Choosing a finish
Consider the overall aesthetic you want to achieve and choose a finish that complements your style and preferences. Wood stains can enhance the natural beauty of the wood, while paints can add a pop of color. Consider using a water-resistant finish if you anticipate potential exposure to moisture or spills.
Applying wood stain or paint
Following the manufacturer’s instructions, apply the chosen finish to the napkin holder. Use a brush or a clean cloth to apply an even and thin coat, ensuring complete coverage. Allow the finish to dry fully before proceeding to the next step.
Adding a varnish or sealant
To protect the wood and enhance its durability, apply a clear varnish or sealant over the finish. This additional layer provides a protective barrier against wear and tear, moisture, and stains. Apply the varnish or sealant according to the manufacturer’s instructions, ensuring even coverage. Allow it to dry completely before using the napkin holder.

Final steps and maintenance tips
Before you start using your handmade wooden napkin holder, there are a few final steps to ensure its functionality and longevity.
Smoothing any rough edges
During the assembly process, some rough edges may have been left behind. Use sandpaper to carefully smooth any remaining rough spots, ensuring a comfortable and safe user experience.
Checking for proper functionality
Before placing your napkins in the holder, test its functionality. Ensure that the dimensions accommodate the size of your napkins and that they can be easily inserted and removed. Make any necessary adjustments to ensure a proper fit.
Cleaning and maintaining the napkin holder
To keep your wooden napkin holder looking its best, make sure to clean it regularly. Wipe it gently with a damp cloth to remove any dirt or spills. Avoid using harsh cleaners or soaking the wood in water, as this can damage the finish and the wood itself. Additionally, periodically check for any signs of wear or damage, such as loose joints or cracks, and make any necessary repairs promptly.
Alternative designs and customizations
While a simple rectangular design is classic and functional, there are numerous ways to customize your wooden napkin holder and make it truly unique.
Incorporating additional compartments
Consider adding dividers or compartments to your napkin holder to create separate sections for different napkins, such as dinner napkins and cocktail napkins. This can enhance organization and make your napkin holder even more practical.
Adding decorative elements
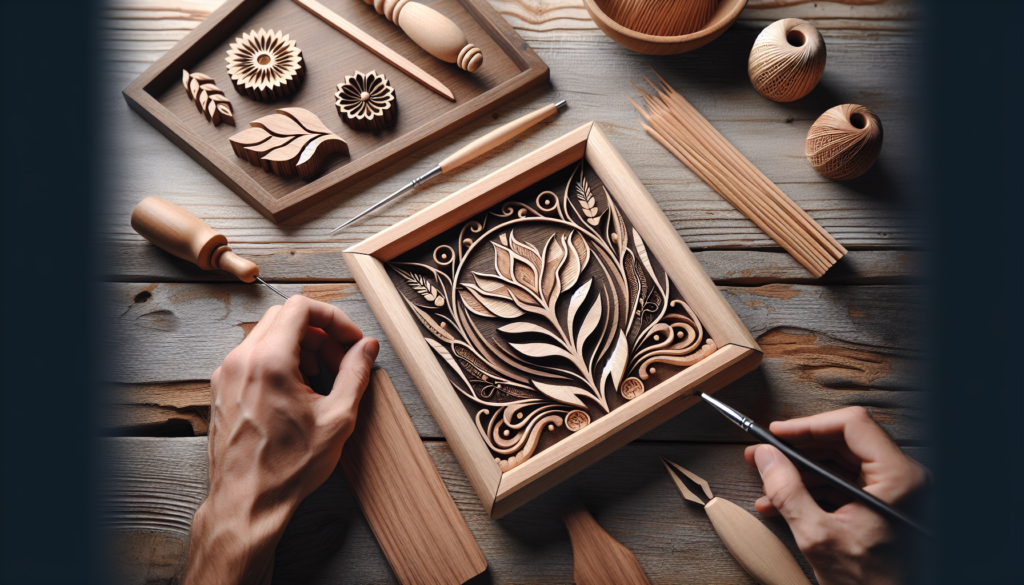
If you want to add a touch of elegance or personal flair to your napkin holder, consider incorporating decorative elements. These can include carved designs, inlays, or even decorative hardware such as small handles or knobs. Let your creativity shine through and make your napkin holder stand out.
Personalizing with engravings or carvings
Another option for customization is to personalize your napkin holder with engravings or carvings. Whether it’s initials, a meaningful quote, or a simple design, adding a personal touch makes the napkin holder truly one-of-a-kind.

Safety precautions
Woodworking can be a rewarding and enjoyable activity, but it’s crucial to prioritize safety throughout the process.
Using protective gear
Always wear appropriate protective gear when working with tools and materials. Safety goggles, gloves, and hearing protection are essential to prevent injuries from flying wood chips and loud noises. Additionally, consider using dust masks or respirators to protect against airborne particles while sanding or cutting wood.
Taking proper care when handling tools
Handle all tools with care, following the manufacturer’s instructions and safety guidelines. Keep blades and cutting edges sharp, as dull tools can be more dangerous. Avoid rushing or forcing cuts, as this can lead to accidents. Always use tools in a well-ventilated space and be aware of your surroundings to minimize the risk of injuries.
Conclusion
Congratulations! You’ve successfully created your own handmade wooden napkin holder. Now it’s time to sit back, relax, and enjoy the fruits of your labor. Whether you’ve chosen a simple design or customized it to your heart’s content, your napkin holder will undoubtedly add charm and functionality to your dining table. So gather your napkins, place them in your newly crafted holder, and enjoy the pleasure of using a beautiful and functional piece that you made with your own hands. Happy woodworking!


