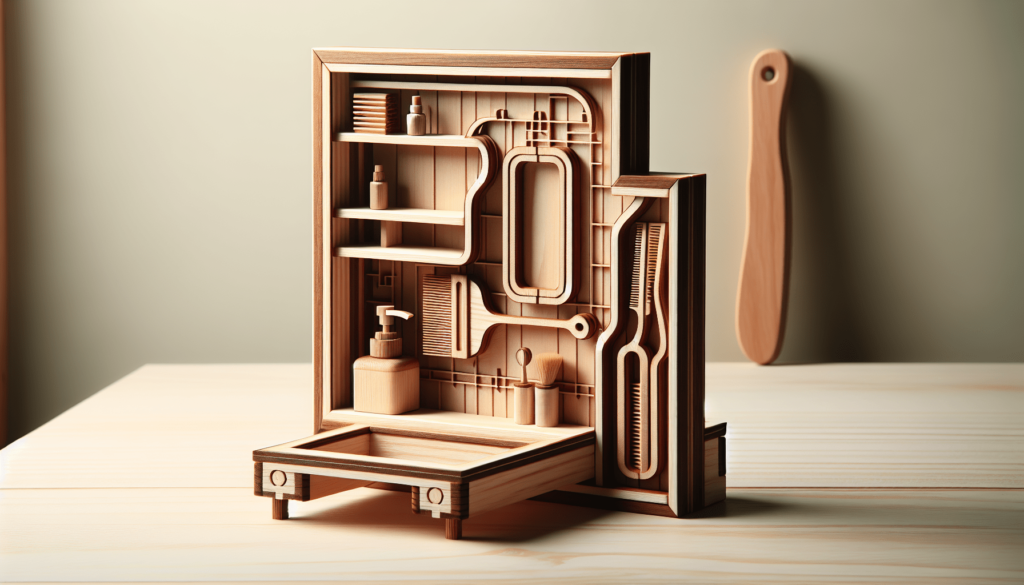
So you’re looking to add some extra storage to your bathroom, and a wooden bathroom shelf seems like the perfect solution. Well, you’re in luck! In this article, we’ll walk you through the process of creating your very own wooden bathroom shelf. Don’t worry if you’re not a DIY expert – this step-by-step guide is designed to be beginner-friendly, making it easy for anyone to tackle this project. By the end, you’ll have a beautiful and functional addition to your bathroom that you can proudly say you made yourself. Let’s get started!
Choosing the Right Wood For Your Wooden Bathroom Shelf
Consider the Water Resistance
When choosing the wood for your bathroom shelf, it’s important to consider its water resistance. Bathrooms are high-moisture areas, so you need a wood that can withstand the humid environment without warping or deteriorating. Some good options for water-resistant woods include teak, cedar, and redwood. These woods have natural oils that make them resistant to moisture and decay. Another option is to choose a wood that has been treated with a waterproof sealant.
Decide on the Type of Wood
In addition to water resistance, you should also consider the overall look and aesthetic of the wood for your bathroom shelf. Some popular choices include oak, pine, and walnut. Oak is known for its durability and natural beauty, while pine is more affordable and easy to work with. Walnut, on the other hand, offers a rich, dark color that can add a touch of elegance to your bathroom. Consider the style of your bathroom and choose a wood that complements it.
Select the Thickness and Width
The thickness and width of the wood will depend on the size and weight of the items you plan to store on the shelf. Thicker wood will be more sturdy and able to support heavier objects, while thinner wood may be suitable for lighter items. Similarly, wider shelves provide more surface area for storage. Measure the available space in your bathroom and consider the items you want to store before selecting the appropriate thickness and width for your wooden bathroom shelf.
Measuring and Planning
Measure the Available Space
Before you start building your wooden bathroom shelf, it’s crucial to measure the available space accurately. Use a tape measure to determine the width, height, and depth of the area where you plan to install the shelf. This will help you determine the dimensions and design of the shelf to ensure a perfect fit in your bathroom.
Determine the Shelf Dimensions
Once you have measured the available space, you can determine the dimensions of your bathroom shelf. Consider the items you want to store on the shelf and how much space they require. Allow for enough clearance between shelves so that the items won’t be crowded. Additionally, take into account the height of the tallest item you plan to store on the shelf to ensure it will fit comfortably.
Sketch and Plan the Design
After determining the dimensions, it’s helpful to sketch and plan the design of your wooden bathroom shelf. Visualize how you want the shelf to look and function in your bathroom. Consider the number of shelves, the height of each shelf, and any additional features you may want to incorporate, such as hooks or towel bars. Sketching your design will give you a clear vision of the final product and help you stay organized during the building process.
Gathering Materials and Tools
List of Materials
To build your wooden bathroom shelf, you will need the following materials:
- Wood boards of your chosen type and size
- Screws or nails for assembling the shelf
- Wood glue for added stability
- Waterproof sealant or finish
- Sandpaper or a sander for smoothing the wood surfaces
Tools and Equipment Needed
In addition to the materials, you will also need the following tools and equipment:
- Tape measure for accurate measurements
- Saw or circular saw for cutting the wood to size
- Clamps for securing wood during assembly
- Screwdriver or drill for installing screws or nails
- Sanding block or electric sander for smoothing the wood surfaces
- Paintbrush or rag for applying the wood finish
- Level for ensuring the shelf is straight and level during installation
Preparing the Wood
Cutting the Wood to Size
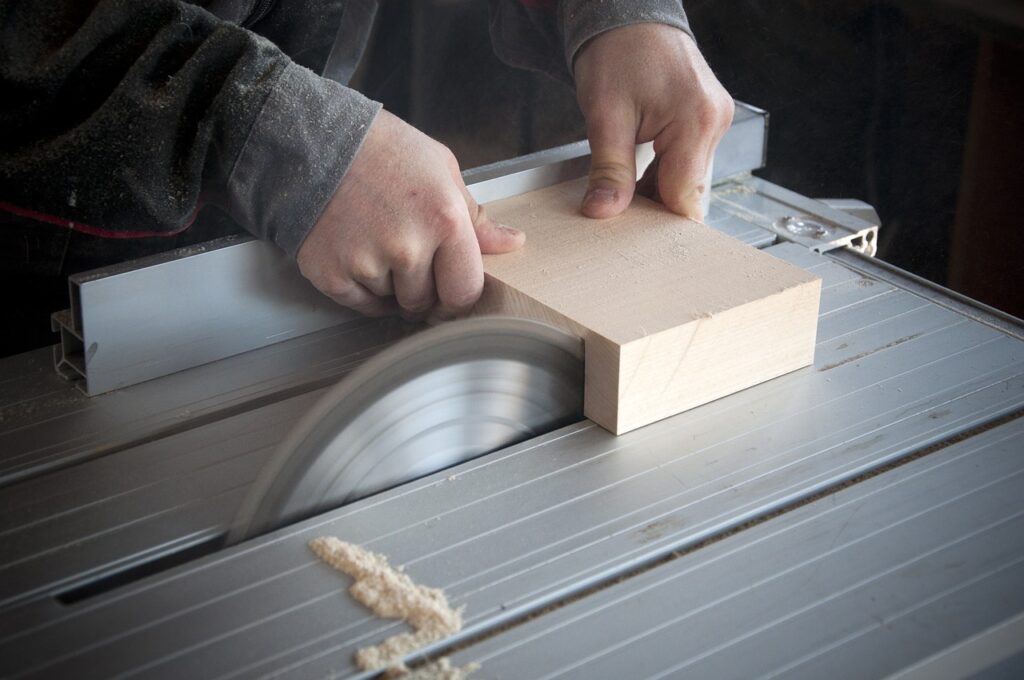
Once you have gathered all the necessary materials and tools, it’s time to cut the wood boards to the desired dimensions. Use a saw or circular saw to make precise cuts according to your measurements. Take your time and double-check your measurements before cutting to avoid any mistakes.
Sanding and Smoothing the Surfaces
After cutting the wood to size, it’s important to sand and smooth the surfaces to create a polished and professional look. Use sandpaper or an electric sander to remove any rough edges or splinters. Start with a coarse grit sandpaper and gradually move to a finer grit for a smooth finish. Be sure to sand both the visible surfaces and the edges of the wood.
Applying a Wood Finish
To protect the wood and enhance its natural beauty, consider applying a wood finish or waterproof sealant. A wood finish not only adds a protective layer but also enhances the color and grain of the wood. Use a paintbrush or rag to apply the finish, following the manufacturer’s instructions. Allow sufficient drying time before moving on to the assembly process.
Assembling the Shelf
Creating the Shelf Base
To begin assembling your wooden bathroom shelf, start by creating the base. Lay out the bottom board and attach the side boards with screws or nails. Apply wood glue to ensure a strong bond between the pieces. Use clamps to hold the pieces together while you secure them. It’s important to check that everything is square and level before moving on to the next step.
Building the Side Supports
Next, you will need to build the side supports for your bathroom shelf. Measure and mark the desired height for each support, keeping in mind the spacing between shelves. Attach the side supports to the base using screws or nails and wood glue. Again, use clamps to hold everything in place while you work. Double-check for levelness and stability before proceeding.
Attaching the Shelves
After the side supports are securely in place, it’s time to attach the shelves. Measure and mark the desired height for each shelf, ensuring enough clearance between shelves for your intended items. Use screws or nails to attach the shelves to the side supports, and reinforce them with wood glue for added sturdiness. Take your time to align the shelves properly and ensure they are level.
Reinforcing and Stabilizing
To ensure the stability and longevity of your wooden bathroom shelf, consider reinforcing it with additional supports or brackets. These can be attached to the back of the shelf and secured to the wall for added stability. Use screws and anchors to secure the supports to the wall, following the manufacturer’s instructions. This reinforcement will prevent the shelf from tipping or wobbling.
Installing the Shelf
Finding the Right Location
Before installing your wooden bathroom shelf, carefully choose the location where you want it to be. Consider the height and accessibility of the shelf, as well as the items you plan to store on it. Make sure to avoid any plumbing or electrical lines behind the wall. Take measurements to ensure the shelf will fit perfectly in the chosen spot.
Marking and Drilling Mounting Holes
Once you have determined the location, use a level and a pencil to mark the positions for the mounting holes on the wall. Ensure the marks are level and evenly spaced. Use a drill to create the mounting holes, following the size and depth recommendations for your chosen wall anchors or screws.
Securing the Shelf to the Wall
After preparing the mounting holes, it’s time to secure the wooden bathroom shelf to the wall. Line up the mounting holes on the back of the shelf with the holes on the wall. Insert screws or wall anchors into the holes and tighten them securely. Use a level to check for any adjustments needed to ensure the shelf is straight and level. Finally, tighten all screws or bolts and double-check the stability of the shelf.
Optional Features and Decorations
Adding Hooks or a Towel Bar
To maximize the functionality of your wooden bathroom shelf, consider adding hooks or a towel bar. This will provide additional storage space for hanging towels, robes, or other items. Attach hooks or a towel bar to the underside of the shelf or along the sides, depending on your design preference. Make sure to choose sturdy and rust-resistant hardware that can withstand the bathroom environment.
Incorporating Additional Storage
If you need more storage space in your bathroom, you can incorporate additional storage features into your wooden shelf design. Consider adding small baskets or bins on the shelves to keep toiletries, washcloths, or other essentials organized. This will help declutter your bathroom while adding a decorative touch to the shelf.
Decorative Finishing Touches
To personalize your wooden bathroom shelf and make it a standout feature in your bathroom, consider adding decorative finishing touches. You can paint the shelf in your favorite color or add a stencil design to create visual interest. Adding decorative hardware or trim can also elevate the overall look of the shelf. Let your creativity shine and make your shelf a reflection of your personal style.
Maintenance and Care
Cleaning and Treating the Wood
To keep your wooden bathroom shelf looking its best, regular cleaning and treating are essential. Use a damp cloth or mild soap to clean the wood surfaces, avoiding any harsh chemicals that may damage the finish. Periodically, apply a wood polish or protective wax to maintain the shine and protect the wood from moisture. Follow the manufacturer’s instructions for any specific cleaning or treatment products.
Preventing Water Damage
To prevent water damage to your wooden bathroom shelf, it’s important to take some precautions. Avoid placing wet or damp items directly on the wood surfaces, as this can lead to staining or warping. Use coasters or mats to protect the wood from spills or condensation. Additionally, ensure proper ventilation in your bathroom to minimize humidity levels, as excessive moisture can damage the wood over time.
Regular Inspections and Repairs
Perform regular inspections of your wooden bathroom shelf to identify any signs of wear or damage. Look for cracks, loose screws, or any other issues that may compromise the shelf’s stability. Make necessary repairs promptly to prevent further damage. Tighten screws, replace any damaged boards, or apply a fresh coat of finish as needed. Regular maintenance will help prolong the lifespan of your DIY wooden bathroom shelf.
Safety Considerations
Working with Power Tools
When working with power tools during the construction of your wooden bathroom shelf, it’s crucial to prioritize safety. Always wear appropriate eye protection and use gloves to protect your hands. Familiarize yourself with the proper operation of each tool and follow all safety guidelines provided by the manufacturer. Take your time and work in a well-ventilated area for optimal safety.
Using Protective Equipment
Protective equipment such as goggles, a dust mask, and ear protection should be worn when cutting, sanding, or finishing the wood. These precautions will shield your eyes, lungs, and ears from potential hazards such as wood dust or loud noises. Prioritize your safety throughout the entire woodworking process to prevent any accidents or injuries.
Avoiding Splinters and Cuts
Woodworking often involves sharp edges and tools, making it important to take measures to avoid splinters and cuts. When handling wood boards, be mindful of splinters and wear gloves to protect your hands. Use sandpaper or a sander to smooth any rough edges or splinters before assembly. Always cut the wood away from your body and keep your fingers clear of rotating blades or cutting surfaces.
Conclusion
By following these steps, you can create your own customized wooden bathroom shelf that perfectly fits your space and meets your storage needs. Remember to choose the right wood for your bathroom’s moisture levels, measure accurately, gather the necessary materials and tools, and take safety precautions throughout the process. With a little planning and creativity, you can enjoy a beautiful and functional DIY wooden bathroom shelf that showcases your personal style and craftsmanship. Get started today and enjoy the satisfaction of a project well-done!
If you like this project try our Wooden Fire Pit Bench project.
